Online Extravaganza begins in less than an hour!

Do you love Black Friday deals? Then how about 8 whole days of "Black Friday" fun? Well, once again, Stampin' Up!'s gotcha covered!

Online Extravaganza kicks off on Monday, the 21st, beginning at midnight (Mountain Time) with a 24-hour Flash Sale…… and here's what you'll find:

Image

And because pictures are a lot easier to interpret than words….

"Enamel Shapes Bundle" – Only $27.95 (35% off) when purchased in this bundle – available for 24 hours only: 

"Ombre Pads Bundle" – Only $31.50 (30% off) when purchased in this bundle – available for 24 hours only:


"Embellished Ornaments + Delicate Ornament Bundle (Wood)" – Only $45.60 (20% off) when purchased in this bundle – available for 24 hours only: 

"Embellished Ornaments + Delicate Ornament Bundle (Clear)" – Only $39.20 (20% off) when purchased in this bundle – available for 24 hours only:


"Gift Bag Punch Board" – Only $14.00 (30% off) – available at this price for 24 hours only : 


"Gift Box Punch Board" – only $14.00 (30% off) – available at this price for 24 hours only:


But hey, why stop there?!? There's more!

In addition to Monday's 24-hour Flash Sale, there are many other items that will remain on sale through the following Monday (Nov. 28) – while supplies last. Download this PDF to see the entire list – with discounts varying from 10% – all the way up to 40%.

And then stay tuned for another 24-hour Flash Sale on Monday, the 28th, AND check out the following stamp sets - also offered at 25% off, too! (Prices shown are before the discount.)


So make out your wishlist, be sure to check it twice, and grab your favorites from both the Annual & Holiday catalogs – with the added advantage of discounts, too. And before inventories of Holiday Catalog products run out!

Shop for yourself here: store.YourPaperDreams.com – or tell your certain someone  (who might need a bit of assistance in getting you just the right holiday gift) to contact me with your wish list- and I'll handle the complex part. (Like typing it in, lol.) 


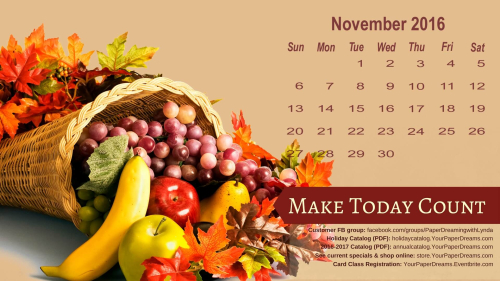
November 2016 Desktop Calendar is ready

November 2016 desktop calendar

My monthly desktop wallpapers/backgrounds not only offer you a pretty seasonal picture for your computer monitor, but they also include a handy monthly calendar AND serve as a cheat sheet to websites you'll frequently want to know about and visit. 

Download your FREE desktop background image here.

You'll probably want to consult your own computer operating system's instructions for installation, but here's how I install my background image on my Windows 10 system. It's super quick and super easy!

  1. Open, download and save the image to my computer – from the link above.
  2. Open the image on my computer.
  3. Right click and select "Set as", then "Set as Background".

Done!

Important:  Please do NOT attempt to install the image shown above because it's a low resolution photo and will probably not yield attractive results for your desktop background. Rather, be sure to grab the full-resolution image at the download link above. 

Happy November!


National Candy Corn Day

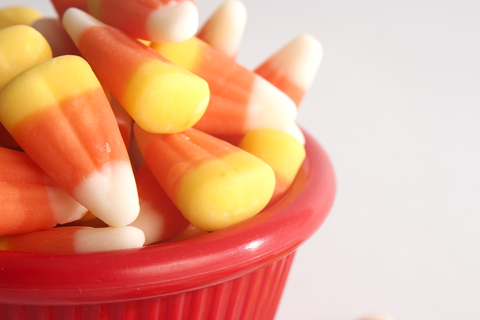
Dreamstime_xs_34283729
Did you know that Oct. 30th is National Candy Corn Day? No? Well sadly, neither do most people, I've discovered. Somehow it gets all mixed up with Halloween (which is the following day), and never seems to get the tribute it deserves!

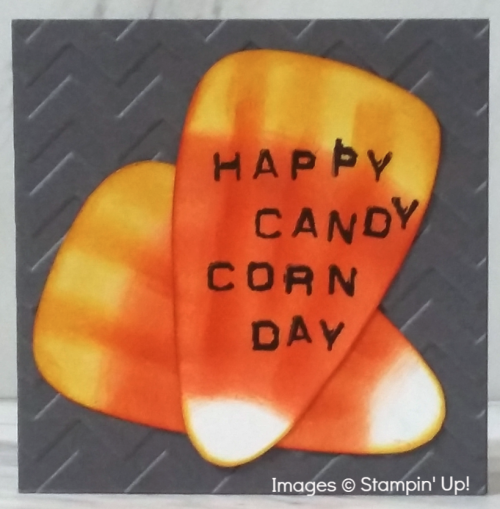
But being a candy corn aficionado myself, I think it deserves a little recognition today. So I made a card in its honor.

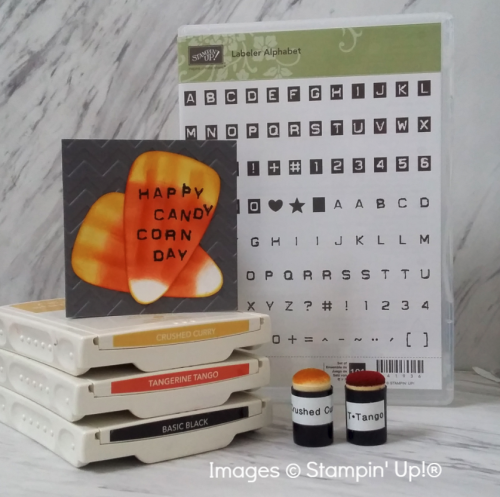
happy candy corn day


I just drew a candy corn pattern by hand; figured I really couldn't go TOO far wrong. And then applied the color (and shading) with daubers. Stamped the text with the very fun "Labeler Alphabet", and mounted the candy onto a Basic Gray 3" x 3" card. 

HappyCandyCornDay


Feeling the need to brush up on your candy corn trivia? Check it out here.

And I wish you a very happy NATIONAL CANDY CORN DAY!

Fruit Stand Designer Series Paper

DSP Fruit Stand 1 wwm

DSP Fruitstand single wwm

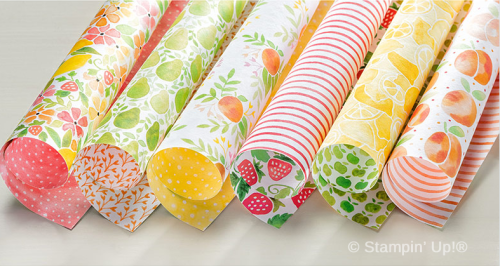
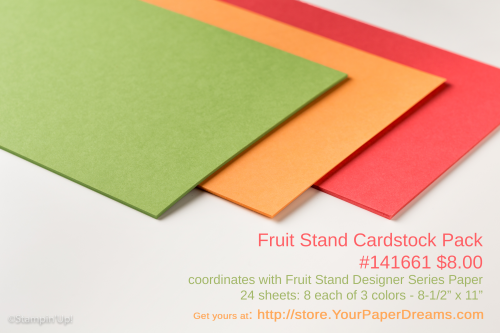
One of my favorite Designer Series papers in the Annual Catalog this year is the Fruit Stand DSP.  And even though we're heading into the season of more subdued colors, I still find myself being pulled back towards the fresh and happy colors of this delicious sherbet-inspired palette!  


141660G

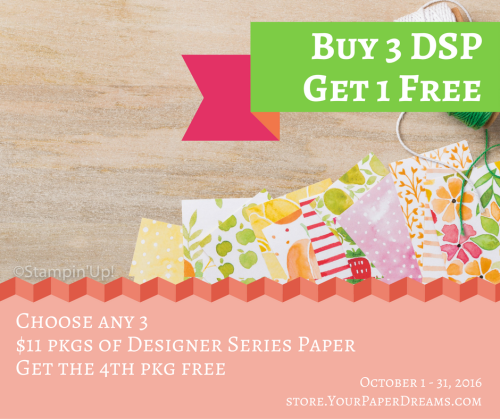
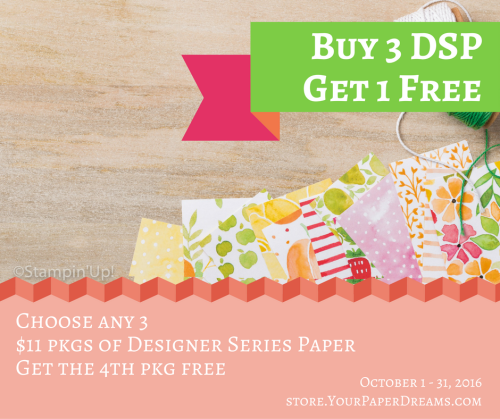
So lucky thing, isn't it, that during the month of October, for every 3 ($11 US) packages of Designer Series Paper you choose, you can get the 4th one FREE!?!


Buy 3, Get 1 free


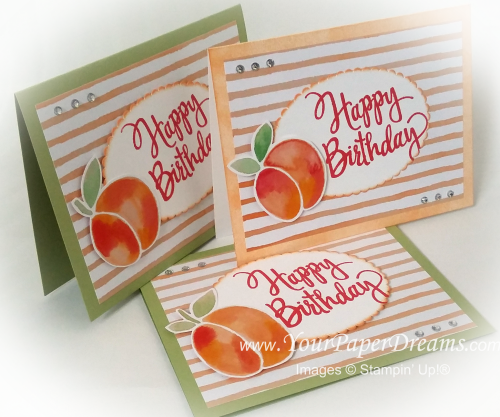
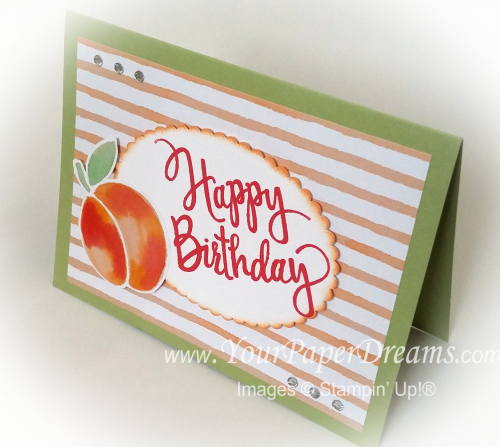
These cards were pretty darn simple to make. Two of the samples feature Pear Pizzaz cardstock for the base, and I used a sponge brayer to apply Peekaboo Peach ink onto thick Whisper White cardstock for the other one. I stamped "Happy Birthday" with Watermelon Wonder onto a piece of Whisper White, and then cut it out with one of the new "Layering Ovals Framelits". A little more Peekaboo Peach ink highlighted the edge.

Fruit stand cardstock 2

The peach itself is just fussy-cut right from the DSP, and then both the oval and the peach are lifted up on Stampin' Dimensionals…. placed onto a piece of the very same Designer Series Paper (actually, the reverse side of the peaches). 

And then a bit of rhinestone bling, and it's done! Just THINK of how many fruit-filled birthday wishes you could make & send with just these very same products!

 Product List 

Sunday Smorgasbord

Well! What a whirlwind this weekend has become! So many things going on in the Stampin' Up! world that I'm really glad I was already focused in that direction and had prepped the family I'd be pretty well tied up for a couple of days. Here's a sampling of some of what's spinning in my life these days…

World Card-Making Day 2016 - FB promo

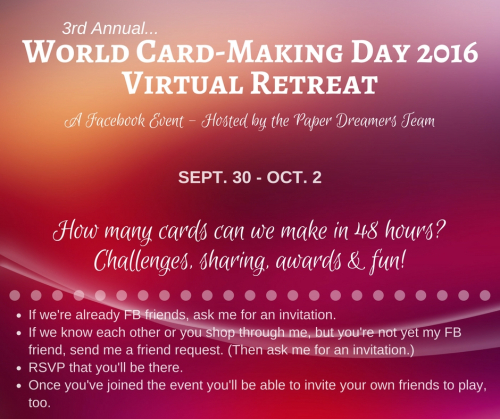
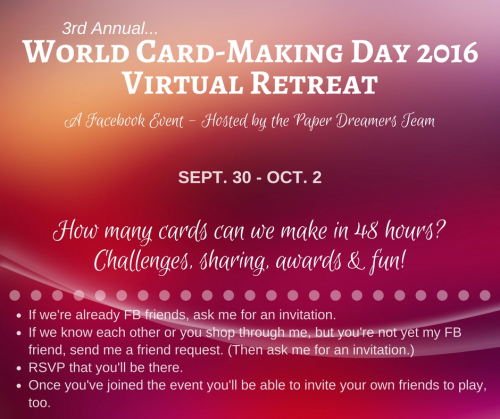
So technically, yesterday was World Card-Making Day. But this is my 3rd year hosting an online retreat in celebration of the occasion, and last year we expanded the opportunity to my entire team and their customers & friends, too.  So that runs from Friday afternoon through Sunday afternoon (the first weekend of October) – as a 48 hour long Facebook event - with the focus of everyone creating cards (between our periodic card challenges, chatter & prize patrols)….. and then we see how many cards we can make as a group during those 48 hours! I never personally get very many cards done at this event because most of my time is spent behind the curtain (that is, on the computer coordinating the technical end of it), but things are a bit quiet right now, so I'm stealing away for a few minutes to write THIS, lol.  

Actually, knowing that I wouldn't get much stamping done this particular weekend (so far I've completed a whopping 4 cards, lol) , I held my own personal card-making marathon LAST weekend instead. So although I can't count those in our weekend total, at least I can "feel" like I participated in the push. If you'd like to follow along with parts of our event, check out the Facebook hashtag #YPD-WCMD2016 , and if you attend my classes, purchase through me, or are a FB friend, there's still time to get in on the final few hours of the afternoon (Oct. 2nd)!

And to add further to the plate-juggling of this weekend, our opening day was on the final day of the Stampin' Up! year, and yesterday was the first day of the NEW Stampin' Up! year. And there's a special project some of us demonstrators are working on for tomorrow (Monday), too….. so stay tuned for that. 

But I DID get this "first of the month" task done:

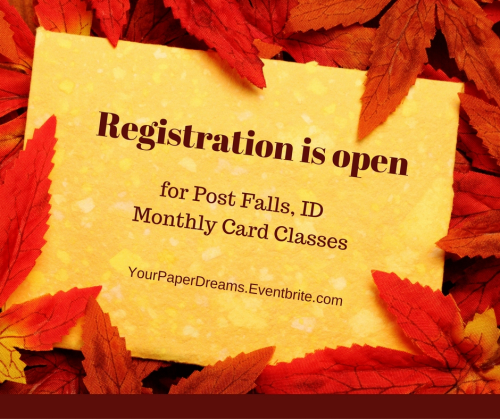
Registration is open - fall


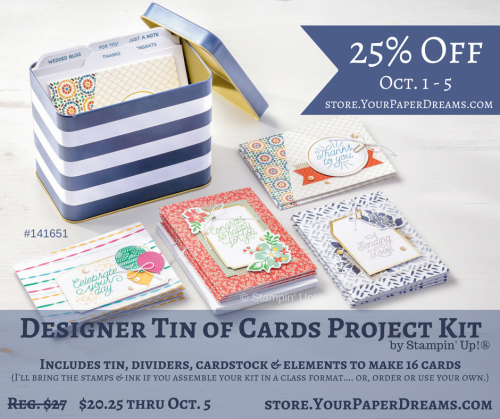
And Stampin' Up! is running a couple of specials I urge you to check out.

(The first one is only available for a few short days, so be quick!)

Designer Tin of Cards Sale

Click here to view at my online store.


Buy 3, Get 1 free

Click here to see the specific paper sets included in this offer.


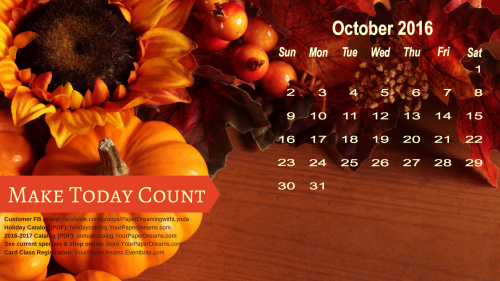
And if you use my desktop wallpaper calendars on your computer, here's the October one:


image from stamptherock.typepad.com
Here are general instructions for setting this up as your desktop wallpaper – on a Windows 10 computer. (You can probably use it on an older or different system, too, but you'll have to figure that one out yourself. Or ask a kid to help, lol.)  
INSTALLATION

This quick and simple installation process works for *my* computer and dual-monitor set-up (Windows 10), but it may or may not work for yours:

  1. Click here (or click the image) to access the high-resolution image. (Please do NOT attempt to install the low-resolution image shown above.)
  2. Download/Save the image to your computer.
  3. Follow your usual process for selecting & setting up an image for your desktop background/wallpaper. (On my computer I only have to right-click the saved image and select "Set as desktop background".)

And now I'm headed back to our #YPD-WCMD2016 Virtual Retreat for the final hours of fun! Make today a great one!


Designing with Bits & Pieces

20160918_110821[1]-wwm


A little while ago I decided it was time to empty out and do something with some of the little "bits & pieces" I collect. You see, when I clean up my work space (which I seem to do far too rarely, but don't tell anyone, lol), I often find little leftover "bits & pieces" from a kit or Paper Pumpkin project I assembled, or some extra doo-dad from a card class I held, or something from a card design that got started once-upon-a-time and may have taken another direction – or just never got finished at all. So I keep a couple plastic bags on my desk and add those little tidbits to them at clean-up time.

So I decided recently it was time to pare down the contents of those bags a bit and see how I might actually USE some of those collected bits. I started by emptying out the bags and surveying what was there. (This is a partial sampling.)


20160918_111918[1]-wwm

From there, I started moving things around into little groupings of stuff that might go together…. whether by color and/or by theme – and several of those groupings eventually became the seeds for a card design.  I'll be highlighting some of the results in upcoming posts.

Here's the first completed card….. something that's been hanging around ever since last Christmas-stamping season. I've taken it out and looked at it from time to time during this past year, but just kept hitting a creative block. The concept had started out as a "black & gold" card. I remember being really excited about the somewhat different and elegant concept, and I'd made respectable progress on the card nearly a year ago - until I got totally stuck. Could NOT for the life of me figure out where it should go next! While the black & gold seemed pretty enough, it was just – well, boring.  I knew it needed a focal point, and that's the role the wreath was to play, but it still just wouldn't "work". 

So fast-forward nearly a year, and I finally figured out what the problem was. The volumes of each color where too similar….. often a no-no when planning a design. So I decided the answer might be to add a small amount of red for a bit of punch…… and here's what I ended up with.! I'm MUCH happier with it now!


20160925_155800[1]

20160925_155844[1]

Since this card had been "under construction" for the better part of a year, I didn't have to add much to it. As it turned out, I added a circle of Whisper White cardstock behind the wreath so the printed vellum underneath didn't show through…. and then I stamped and embossed the sentiment in red and fussy-cut its custom shape. Then I die-cut the bow from a scrap of red foil paper, and added a single rhinestone for bling. The arrows below show the only elements I actually added to what I'd started a long, long time ago! 

20160925_155722[1]

Stay tuned for more completed projects that have arisen recently out of my "bits and pieces" endeavor!

And in the meantime, if you're a FB friend and/or a regular customer of mine, I hope you'll join us for our 3rd annual World Card-Making Day Virtual Retreat! Hosted on Facebook, it'll be 48 hours of creativity and fun – from the comfort of your own home. (Although you DON'T have to be present for the entire time, of course!) So make sure you RSVP that you're attending (details are in the FB Event), and then gather up the goodies you plan to work with! And we'll see you in only a few more days!

World Card-Making Day 2016 - FB promo

Thoughtful Branches – Redux

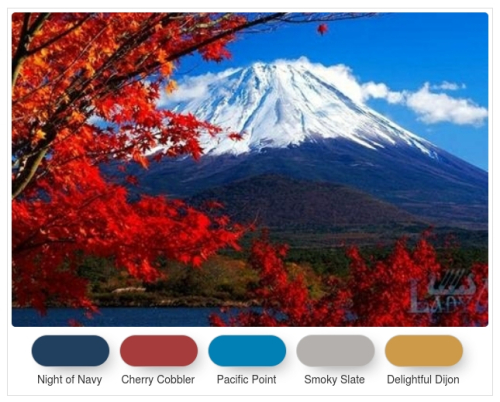
TAMS Color Builder (1)This is the most recent color challenge I've proposed in my Facebook groups. For my own card I knew I wanted to make a birthday card, but the colors were speaking to me more about "fall" than "birthday balloons" or the like. So I sucked it up and recreated this card – in new colors.

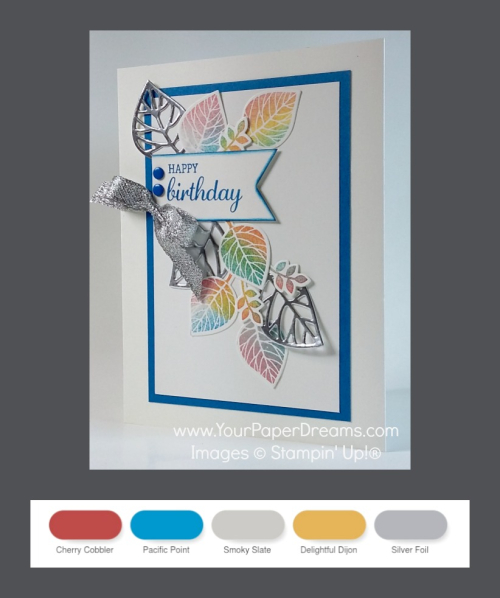
Using 4 of the 5 challenge colors, plus adding silver, I ended up with this:

Thoughtful Branches redux

Since most of these colors are quite bright (at least compared to the more traditional autumn colors of my original card), I chose to use sponges to apply the colors with this version – rather than the daubers of before. So this way I was able to soften the color intensity somewhat. But the larger surface of the sponges also meant more color-overlap, and I was reminded of a lesson I learned way back in elementary school: blue + yellow = green, lol!

I did, however, use one sponge dauber on this card – to apply the blue edge to the banner.

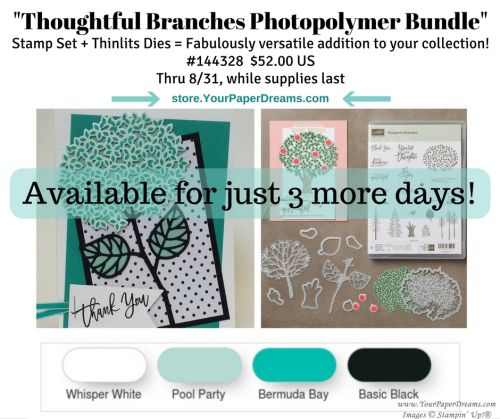
Now, as to the Thoughtful Branches Bundle (stamps & dies) that were *supposed* to be available only through the end of August….. well, at the end of August Stampin' Up!® announced they still had plenty in inventory, so they would continue to make them available while supplies lasted. And as of today, I see they're still in the online store! So if you haven't yet taken advantage of this amazingly gorgeous and versatile bundle, you're not out of luck – YET!  <<wink>>


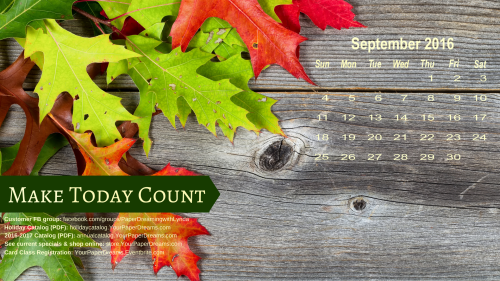
September 2016 desktop background with calendar

September 2016 desktop calendar
Ok. So I've had this incessant urging inside of me for several months now. I've wanted to make my very own seasonal desktop image/background - that included the month's calendar as well as a quick-reference to some of the most common URL's that my customers ask for. And I knew that I'd likely want to share it, too….. should I ever figure out how to make it all come to pass, lol!

Well, today, after several hours of focused headwork and some rather fussy, tedious design (particularly with the calendar element – only due to my ongoing clumsiness with Photoshop Elements), I finally figured it out. (Insert big happy, satisfied grin here!)  Yay!!!

If you'd like to download this image for your own computer desktop, you're welcome to. But here's the thing…. I will NOT be able to diagnose or help with any technical problems you may encounter, so if you've never installed a desktop background before you may want to seek help (perhaps from a teenager, lol). The image size is 1920 x 1080, so it should fit many modern-day monitors, but not necessarily yours. And the file is big - at nearly 5 MB. And no, it's not designed for mobile devices; sorry 'bout that.

INSTALLATION

This quick and simple installation process works for *my* computer and dual-monitor set-up (Windows 10), but I cannot guarantee it'll work for yours:

  1. Click here to access the high-resolution image. (Please do NOT attempt to install the low-resolution image shown above.)
  2. Save the image to your computer.
  3. Follow your usual process for selecting & setting up an image for your desktop background/wallpaper. (On my computer I only have to right-click the saved image and select "Set as desktop background".)

Thoughtful Branches – Fall Leaves

20160826_170259wm

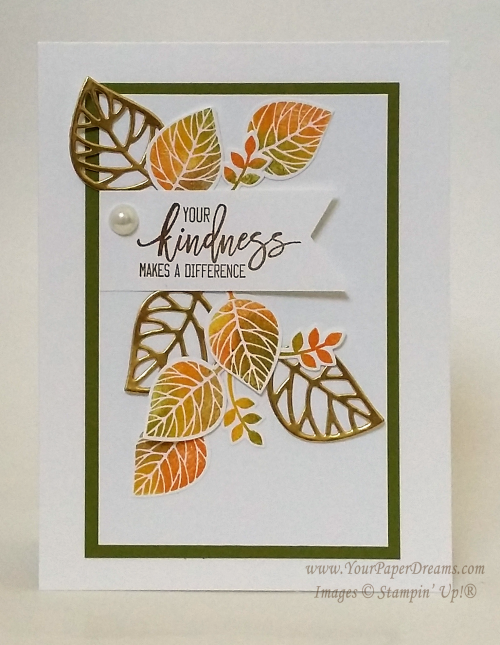
Yep, this time it's a fall card! Again, a "Lynda version" of a card that's been all over the 'net, and I loved the contrast between the die-cut lacy leaves and the solid, multi-color ones. Some versions of this card "out there" use a fun, but rather messy inking technique. But since I had designed my version for class, "messy" wasn't something I particularly wanted to tackle.

20160826_170259-562wm

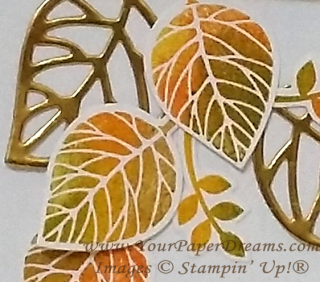
So here's how WE got a similar multi-color, autumn effect.  It's a pattern that you repeat for each individual image:


  • Start with a clean stamp. (Good idea to keep a damp paper towel handy.)
  • Ink up the stamp with Daffodil Delight, but do not stamp with it yet.
  • Lay out all your remaining leaf color inks in order from light to dark, left to right, and have a sponge dauber at hand for each one. (At my class we laid out Pumpkin Pie, Old Olive & Soft Suede.)
  • Onto your yellow-inked stamp, "daub" (is that a real word?!?) a couple of other colors directly onto small areas of the stamp….. one at a time, and always working from lightest to darkest. So because of the order we'd laid out the inks, that would mean Pumpkin Pie followed by Old Olive, OR Old Olive and then Soft Suede.  Pay attention to where you daub each color on the stamp so you don't overlap sections entirely.
  • Once that was done, there would be 3 colors on the stamp (Daffodil Delight + 2 others), and after "huffing" on it, it was time to stamp the image (onto a scrap of Whisper White cardstock).
  • Clean the stamp and get ready to repeat the process for the next leaf.

We stamped (and then die-cut) enough of these colored leaves for not only the front of the card, but also one or more for the inside, too. 

And we followed the same process for those little "flowery-leafy-thingies", too. 

After layering up the main pieces on the card front, we made the banner with the sentiment and anchored that in place…..

And then the lacy-leaves (cut with the corresponding stem-and-leaves die from this bundle – from Gold Foil paper) were laid in place to give a general shape to the layout. And finally, all pieces were tacked down with either strategically-placed dots of glue from the Fine Tip glue pen or the Tombow Multipurpose glue. (Repeat after me, Lynda's cardinal rule of glue-use:  "Less is more. Less is more. Less is more!")

A large (retired) pearl finished it off (and ensured it would cost an additional 21-cents to mail)!

Fall leaves card

Thoughtful Branches – A spring/summer hydrangea

2

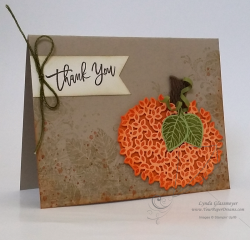
At my card classes earlier this month we capitalized on the versatility of the Thoughtful Branches Photopolymer Bundle and stamped up cards representing spring/summer, fall and winter. (See an additional fall card here.) Today I'd like to share our spring/summer card. Isn't it fascinating how the same stamp/die combo turned one way and stamped in orange can be a pumpkin….

20160826_170500-800wm

 yet  flipped over and stamped in a different color becomes a hydrangea?!?  Yes, I do believe this bundle from Stampin' Up!® is truly one of the top most creative and versatile they've produced. And I'm so sad that in only 3 more days it will go away. 

20160826_170354-wm

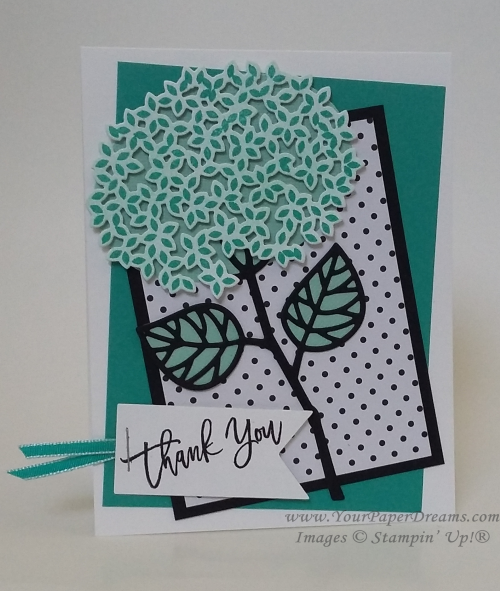
The color palette for this card is simple and fresh - generally monochromatic with its Whisper White, Basic Black, Pool Party & Bermuda Bay. The basic idea was something I'd seen online, but then I added my own tweaks, including the jaunty angles of the layers for an extra punch of fun.

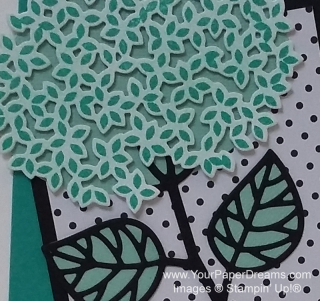
For the hydrangea, we first tinted a piece of Whisper White cardstock a light shade of Pool Party with one of our new sponge brayers.  Then stamped over that with Bermuda Bay before die-cutting that wonderful lacy shape. Then layered that piece over an oval (of Pool Party cardstock) to provide the sense of dimension…. just as I'd done with the pumpkin.

20160826_170354-800wm

The stem & leaf were die-cut as well (Basic Black), and the stem adhered to the underneath oval with tiny spots from the Fine-tip glue pen. To back the leaves, we traced the shape of the die itself onto scraps of Pool Party and cut them out by hand before adhering behind the detailed black layer. The black polka-dotted layer comes from Pop of Pink Specialty Designer Series Paper, a HOT DSP package found in the still-newish annual catalog. (You can never have too many polka dots, can you? And when they're black they go with EVERYTHING!)

And here's a fuss-free tip for cutting a banner exactly the right length for your sentiment:

  1. Cut a piece of cardstock as wide as you wish your finished banner to be, and plenty longer than you want its finished length to be.
  2. Notch one end with the Banner Triple Punch.
  3. Orient the notched edge according to your ultimate design, and stamp your sentiment close to the notch.
  4.  Then clip off any extra length – to yield a perfectly-sized stamped banner!

Stay tuned for the "fall" and "winter" examples -  from our card classes earlier this month!

  Product List