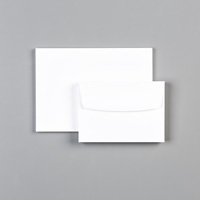
A big ol’ pile of notecards

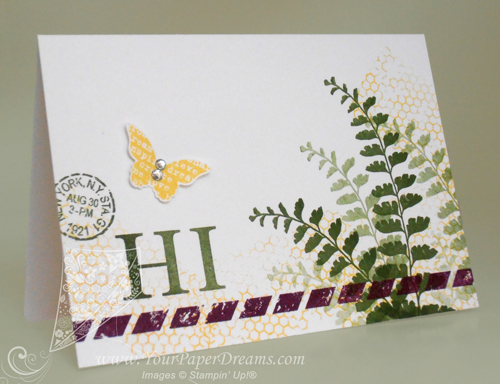
Just finished making a big pile of these notecards, and I simply can't get enough of this Butterfly Basics! I am going to be SOOOOO sad if that stamp set doesn't make it into the upcoming catalog! Thankfully, we demonstrators will get to see the new catalog early tomorrow morning, so I don't have too many more hours to speculate and worry, lol.

Butterfly-Basics-notecard----web

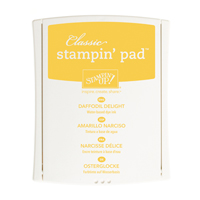
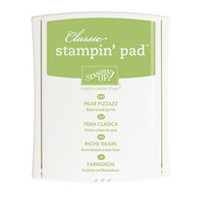
As I was selecting colors for this design I knew I would use a green, of course, and I wanted 2 other bright colors as well. So I started by pulling out Mossy Meadow for my green, and then grabbed that super-yummy Blackberry Bliss as long as I was in the 2014-2016 In Colors section anyway. Daffodil Delight, which was already on my work table, seemed handy for the remaining 3rd color.

When I work with 3 different colors I usually think in terms of "large", "medium" and "small" volumes of the colors. So I decided for this card my "large" volume would be  Mossy Meadow, "medium" would be Daffodil Delight, and the splash of "small" would be done in Blackberry Bliss.

I started by playing around a bit with 1st, 2nd, 3rd and 4th generation stamping for the fern images….. working to get the angles (and rhythm) arranged in a way that would be quick and effective for the couple dozen I was just about to crank out. So that part went down first – on the entire pile of notecards. (Actually, when I'm cranking out a big bunch of cards just alike, I prefer to work assembly-line style, doing the same step on each card. That gets me in a rhythm and eliminates putting tools down and picking them back up again. Because every time you open or close an ink pad, or pick up or put down a stamp, time is ticking by.)
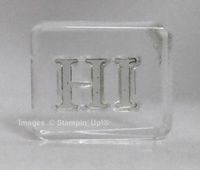
P4290196---webNext came that whimsical and unexpected stripe of Blackberry Bliss parallel to the bottom edge, and then a grouping of 3 images to help balance the weight of the dark ferns. The first part of that grouping, the word "HI", is from Sophisticated Serifs, another Occasions Catalog stamp set I surely hope also transitions into the upcoming catalog because I've found a lot of uses for THAT, too!

To get the letters even with one other I started by laying them down on the grid surface of my paper trimmer, the same way I demonstrated here. Once they seemed properly aligned, I just set my acrylic block straight down on top of them (with its lower edge also aligned with the grid) to pick them up as a unit. Of course I tested them on my grid paper before proceeding, and ended up adjusting the "I" slightly before calling it perfect. But from there on I was able to stamp the two letters together as one image. For placement, I just eye-balled it and aimed for about 1/3 of the way up, and 1/3 of the way in from the left. (Rule of thirds.) Figured that was generally close enough to be acceptable.

The remaining two images of the grouping of 3 also came from Butterfly Basics, with the butterfly being stamped onto scrap Whisper White cardstock and punched out with the Bitty Butterfly punch. A few random thumps of Daffodil Delight applied with that fascinating background stamp from the same set pulled the images together, and a couple of rhinestones on the butterfly finished it all off.

NOW to get these addressed and into the mail!

Product List
April’s swap challenge – under 80-bucks

$80 products logo - tipped leftOne of perks I love about being a demonstrator is participating in the fun events that both Stampin' Up! (the company) and our various teams sponsor. One of the events my team (Paper Dreamers) holds is a monthly card swap – usually centered around a specific theme. For this month's Card Swap I challenged everyone to create a card that could be made with $80 or less in product (not counting s/h & tax). Something a total novice stamper could make from start to finish.

Ok, so I'll bet you're already thinking, "So that's not too tough", right? You just throw in a small set of stamps, some cardstock and ink, and you could whip something up for half of that, huh? Well, noooo, not exactly….. because not only did we have to choose a versatile stamp set, but also had to consider that a new stamper would have to purchase any required tools and accessories, too. (Um, and oh yeah, don't forget that one-time purchase of acrylic blocks, if necessary – and gotta include envelopes!) Ok, so because of those restrictions we WERE permitted to assume use of ordinary household supplies such as basic scissors, pencils and rulers. But all "craft" type stuff had to come from Stampin' Up! and be included in the $80 budget.

As I expected, this turned out to be quite the challenge for those of us accustomed to just pulling out whatever we have in our craft rooms. In fact, it may have been the toughest swap challenge I've ever proposed. (Based on the numbers of questions that arose while everyone was working on their designs.) But in the end, our swappers came through with flying colors and turned in amazing results! I'm super, duper proud of those who accepted this challenge!

Now personally, I got kind of excited about the whole concept and didn't stop at just 1 design; in fact, as long as I was in that $80 mode, I made 3. (But then if you know me at all, you already assumed that, huh?) And then once the swap cards arrived I put together a display of several of them so you'll be able to see that at my next gig.

P4200153---500---copyright


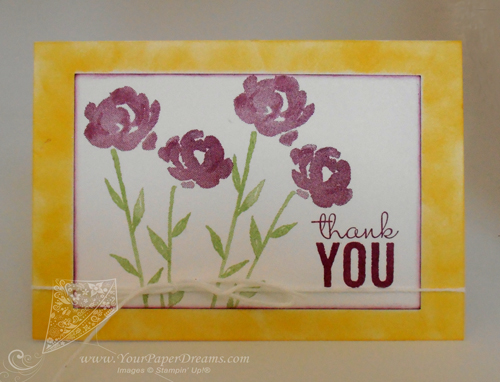
Here's one similar to what I included in the swap; it squeaks in at just under the limit – at $79.60 in product – and yields 20 cards with envelopes.

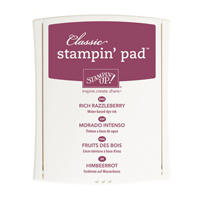
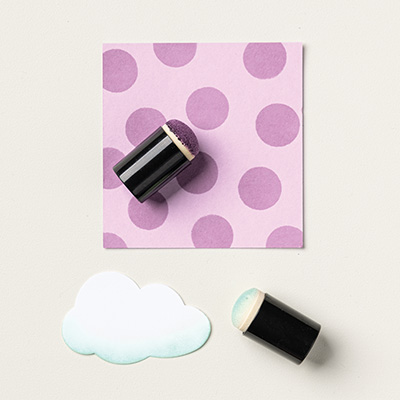
For my design I knew I really wanted to simulate the effect of layers of cardstock, but the budget wasn't up for allowing multiple colors of real cardstock. So I called on one of my "go to" techniques: adding color to white cardstock with a dauber or sponge. (In this case, I used 2 of the 5 daubers in a package: one for Daffodil Delight and the other for Rich Razzleberry.)

And I do love the versatility of that Painted Petals stamp set, so naturally the next card in this $80 series featured that, too.

And hey! Before I close out today, just wanted to remind y'all that the list of retiring products is due out tomorrow (Tuesday, April 21). So that means that TODAY is the best day to grab those "gotta have" items that may still be on your wish list, because once they get published to "THE LIST", the most popular ones are prone to selling out in a flash! So take a few moments today to review your wish list (especially regarding ribbons & trims, punches, Project Life by Stampin' Up!® and anything in the 2013 – 2015 In-Colors) and seriously consider ordering them today!

Product List
Bokeh with Less Mess

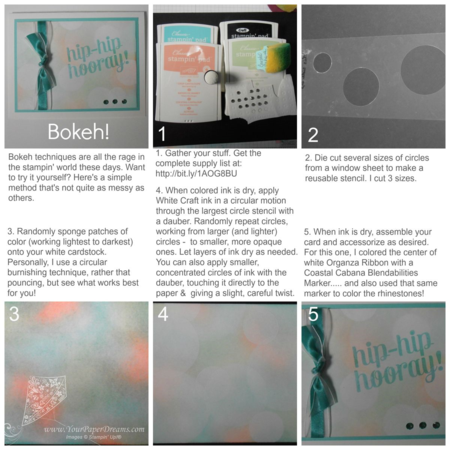
You've probably seen how those dreamy Bokeh techniques are all the rage in the world of ink these days. And some methods are certainly messier than others. I do love me a real good messy crafting session from time to time, but when I decided it was time to try out *this* look, I didn't find myself particularly in the mood for one of those super-messy sessions. So here's how I did mine….
 
Bokeh with less mess large

Click image to view larger, or catch the full resolution version here.
 
Because of the very soft colors I chose, it was really hard to photograph this in such a way that the subtle color variations show, but in real life it does indeed have that soft dreamy look I was after. I'm anxious to try it with bolder colors next, as well as perhaps adding a tiny touch of color by blending a little colored ink refill with some White Craft refill.  Can you imagine what that might look like?
 
And don't you just love the Blendabilities?!?  Being alcohol-based, there are SO many surfaces you can apply them to! They're so pretty for coloring one of our white ribbons to match your project, and for rhinestones and pearls, too. The easiest way is to do your coloring while the embellishment is still on its paper backing – and then let it dry before moving it over to your project
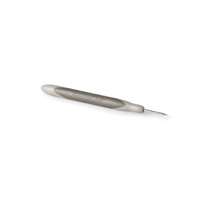
 
OH! And something else about those rhinestones….. do you ever have trouble getting them aligned? Well I USED to…. until I figured out a trick that works for me. Using the holes of the Essentials Paper-Piercing Template, I pierce a few tiny marks on my paper, and then place the rhinestones right over those marks! Voila! Automatically aligned and evenly spaced!
 
Product List