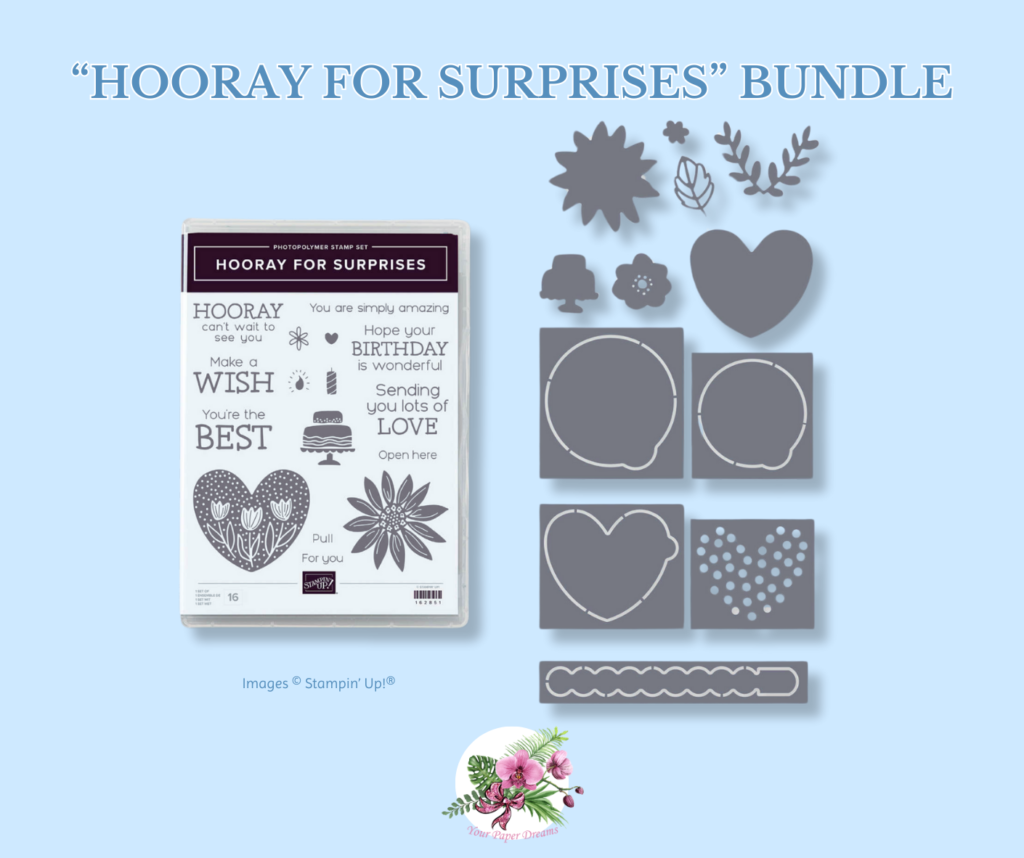
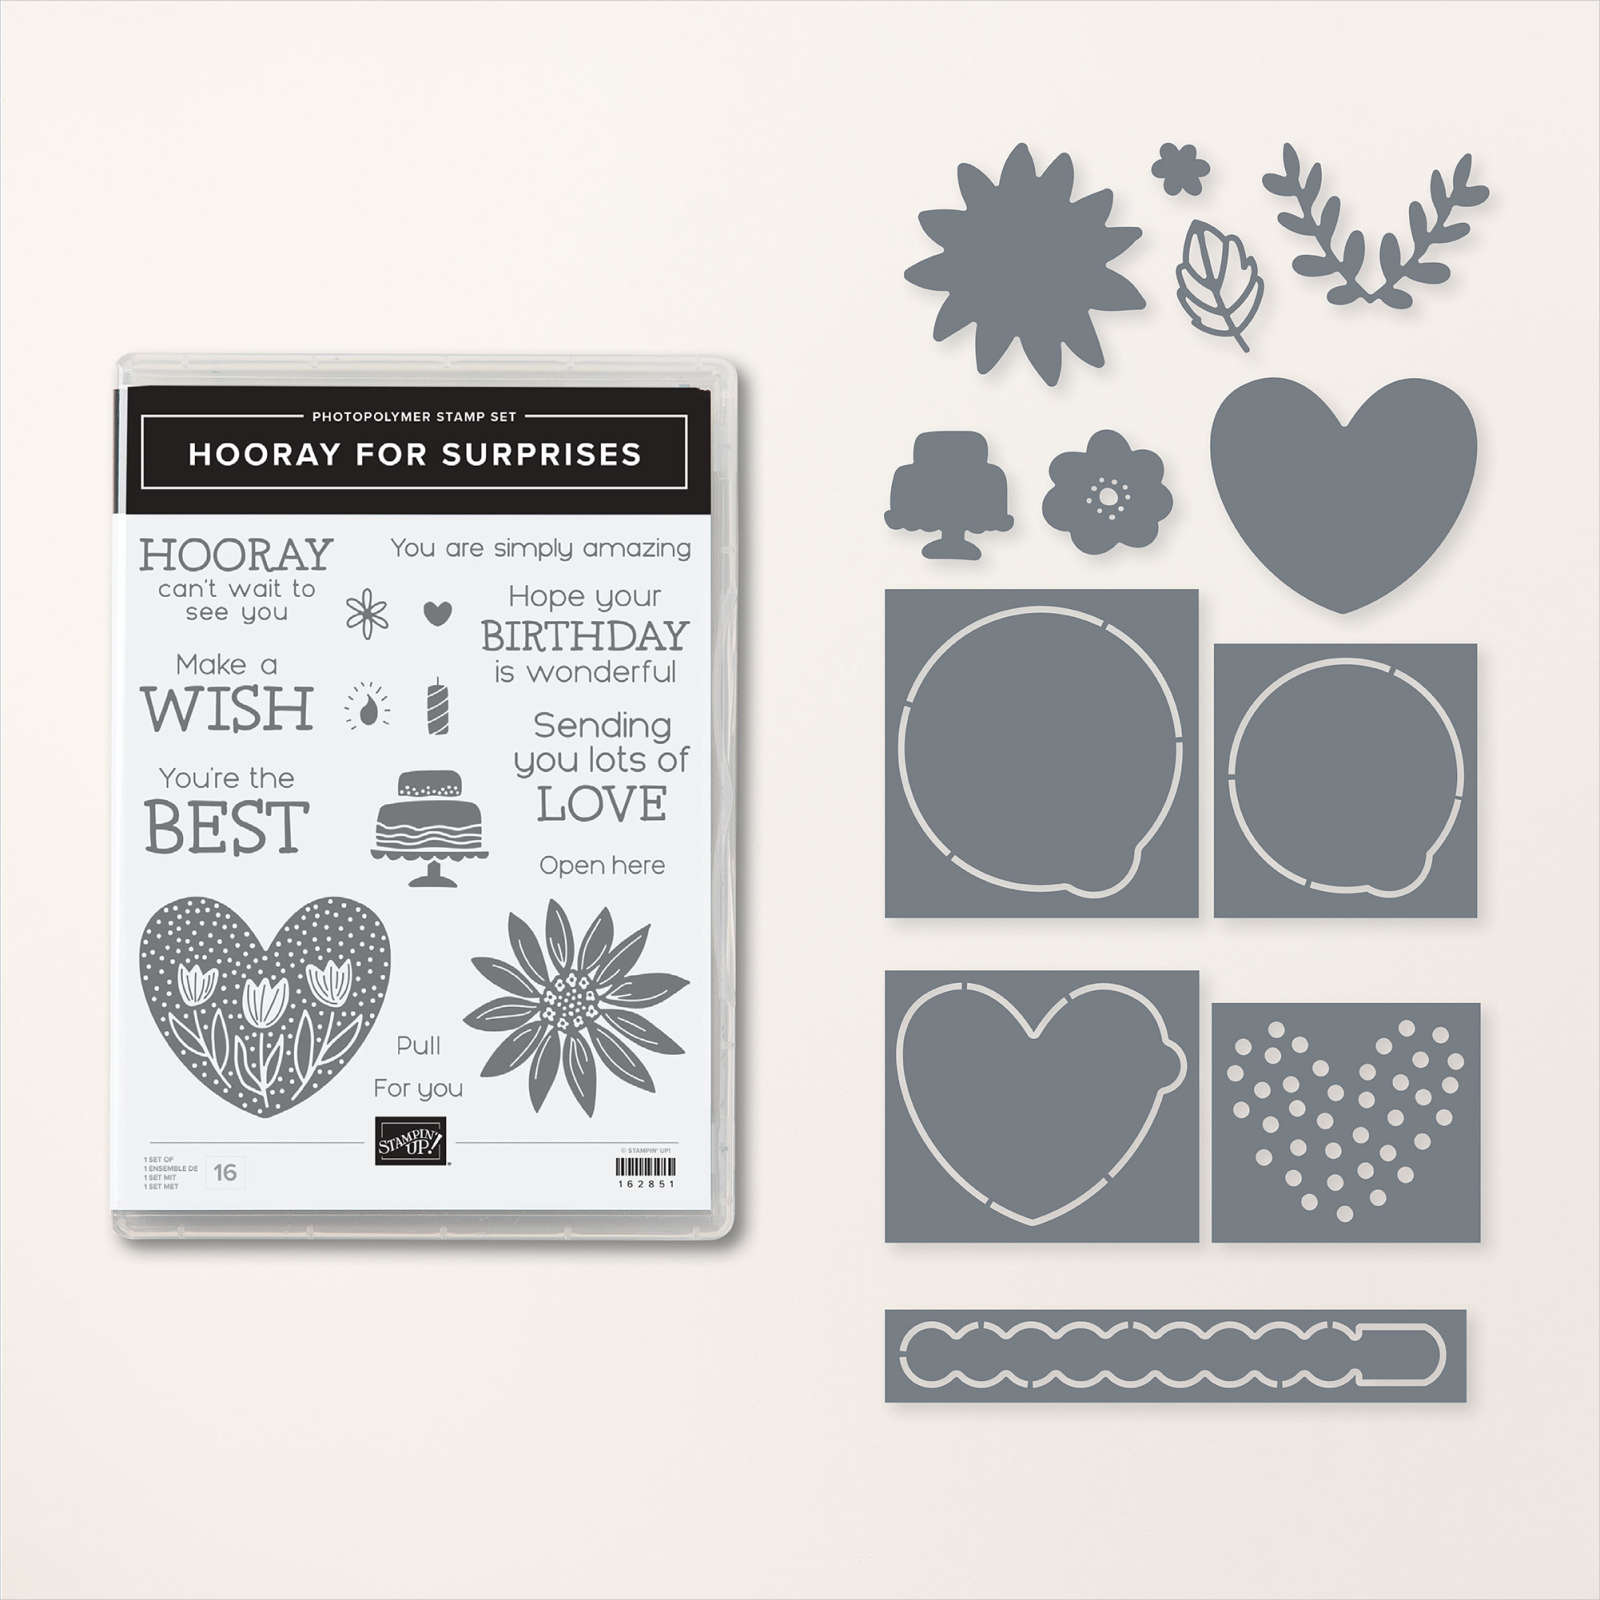
Hooray for Surprises


Hey! Grab my handy, free app to direct you to all my links & things. Test it out!

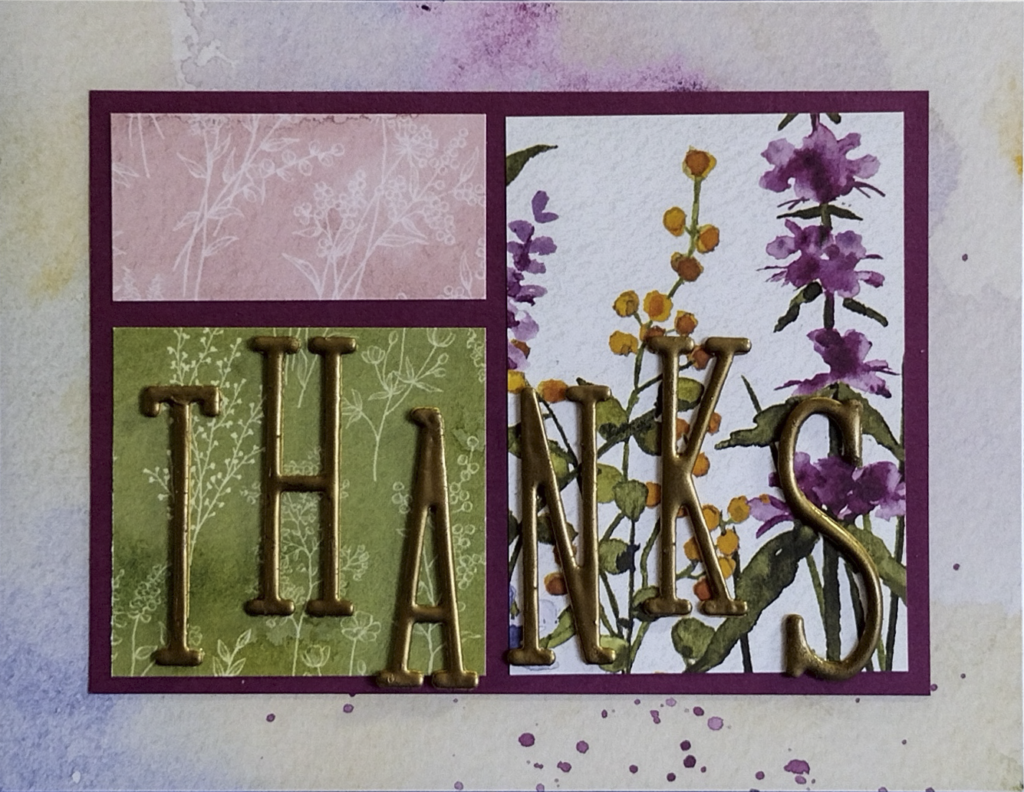
Now, before we get to the specific “how to” of making your own metallic-looking accessories, I need to share a bit of background information. You see, the Designer Series Paper shown on this card came from the 12″ x 12″ collection called “Dainty Flowers”. It’s really lovely paper, front AND back, and it’s even been available for nearly 2 months for free with a $50 Sale-a-Bration order. But just as I got this card put together, inventories of that DSP ran out. And sadly, it’s no longer available.  But of course you can use any cardstock or DSP of your choice, should you want to make a card similar to this one.
The layout template, including all cutting sizes, was included in my online card classes of last week. And it will eventually reappear in an upcoming compilation of such templates, so hang tight & keep checking back if you’re interested in that.


The main Annual Catalog & Idea Book. Click to view online.

Spring Mini Catalog & Idea Book. Latest releases. Click to view online!


")

 Designer Series Paper")

