Strategies with Stamps, Ink & Paper to help the "I'm not creative"s among us feel like artists
Hey! Grab my handy, free app to direct you to all my links & things. Test it out!
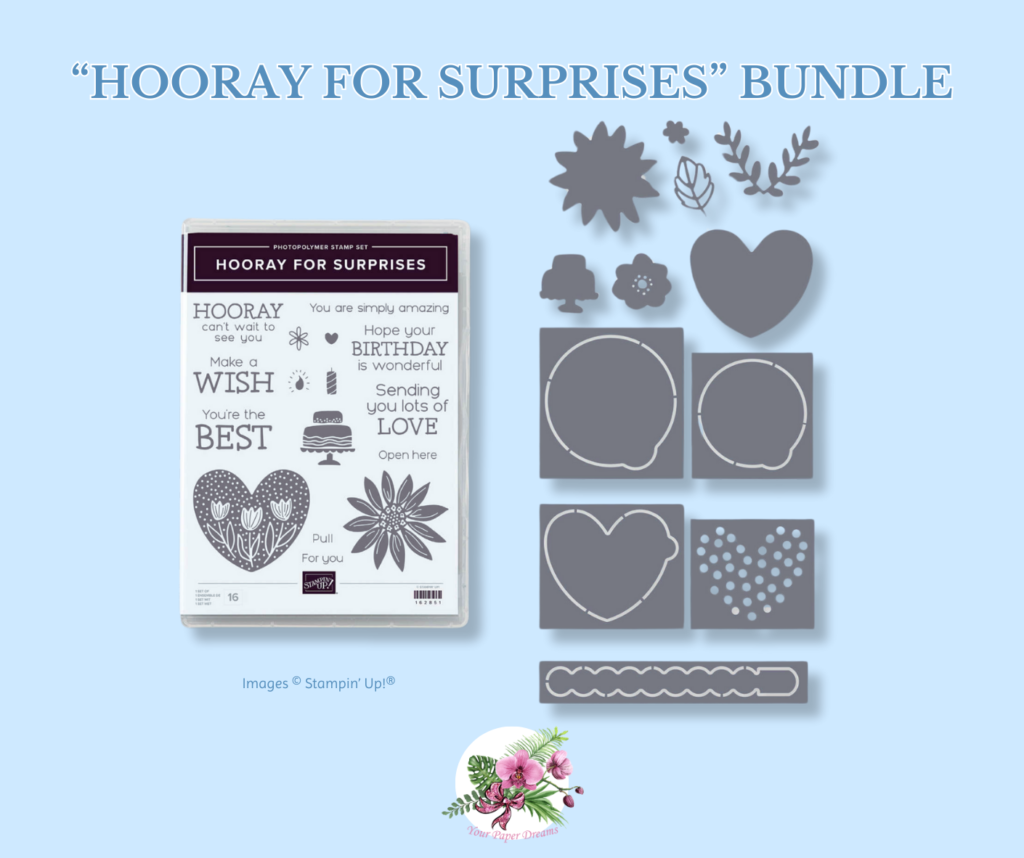
Hooray for Surprises
Jan 21, 2024
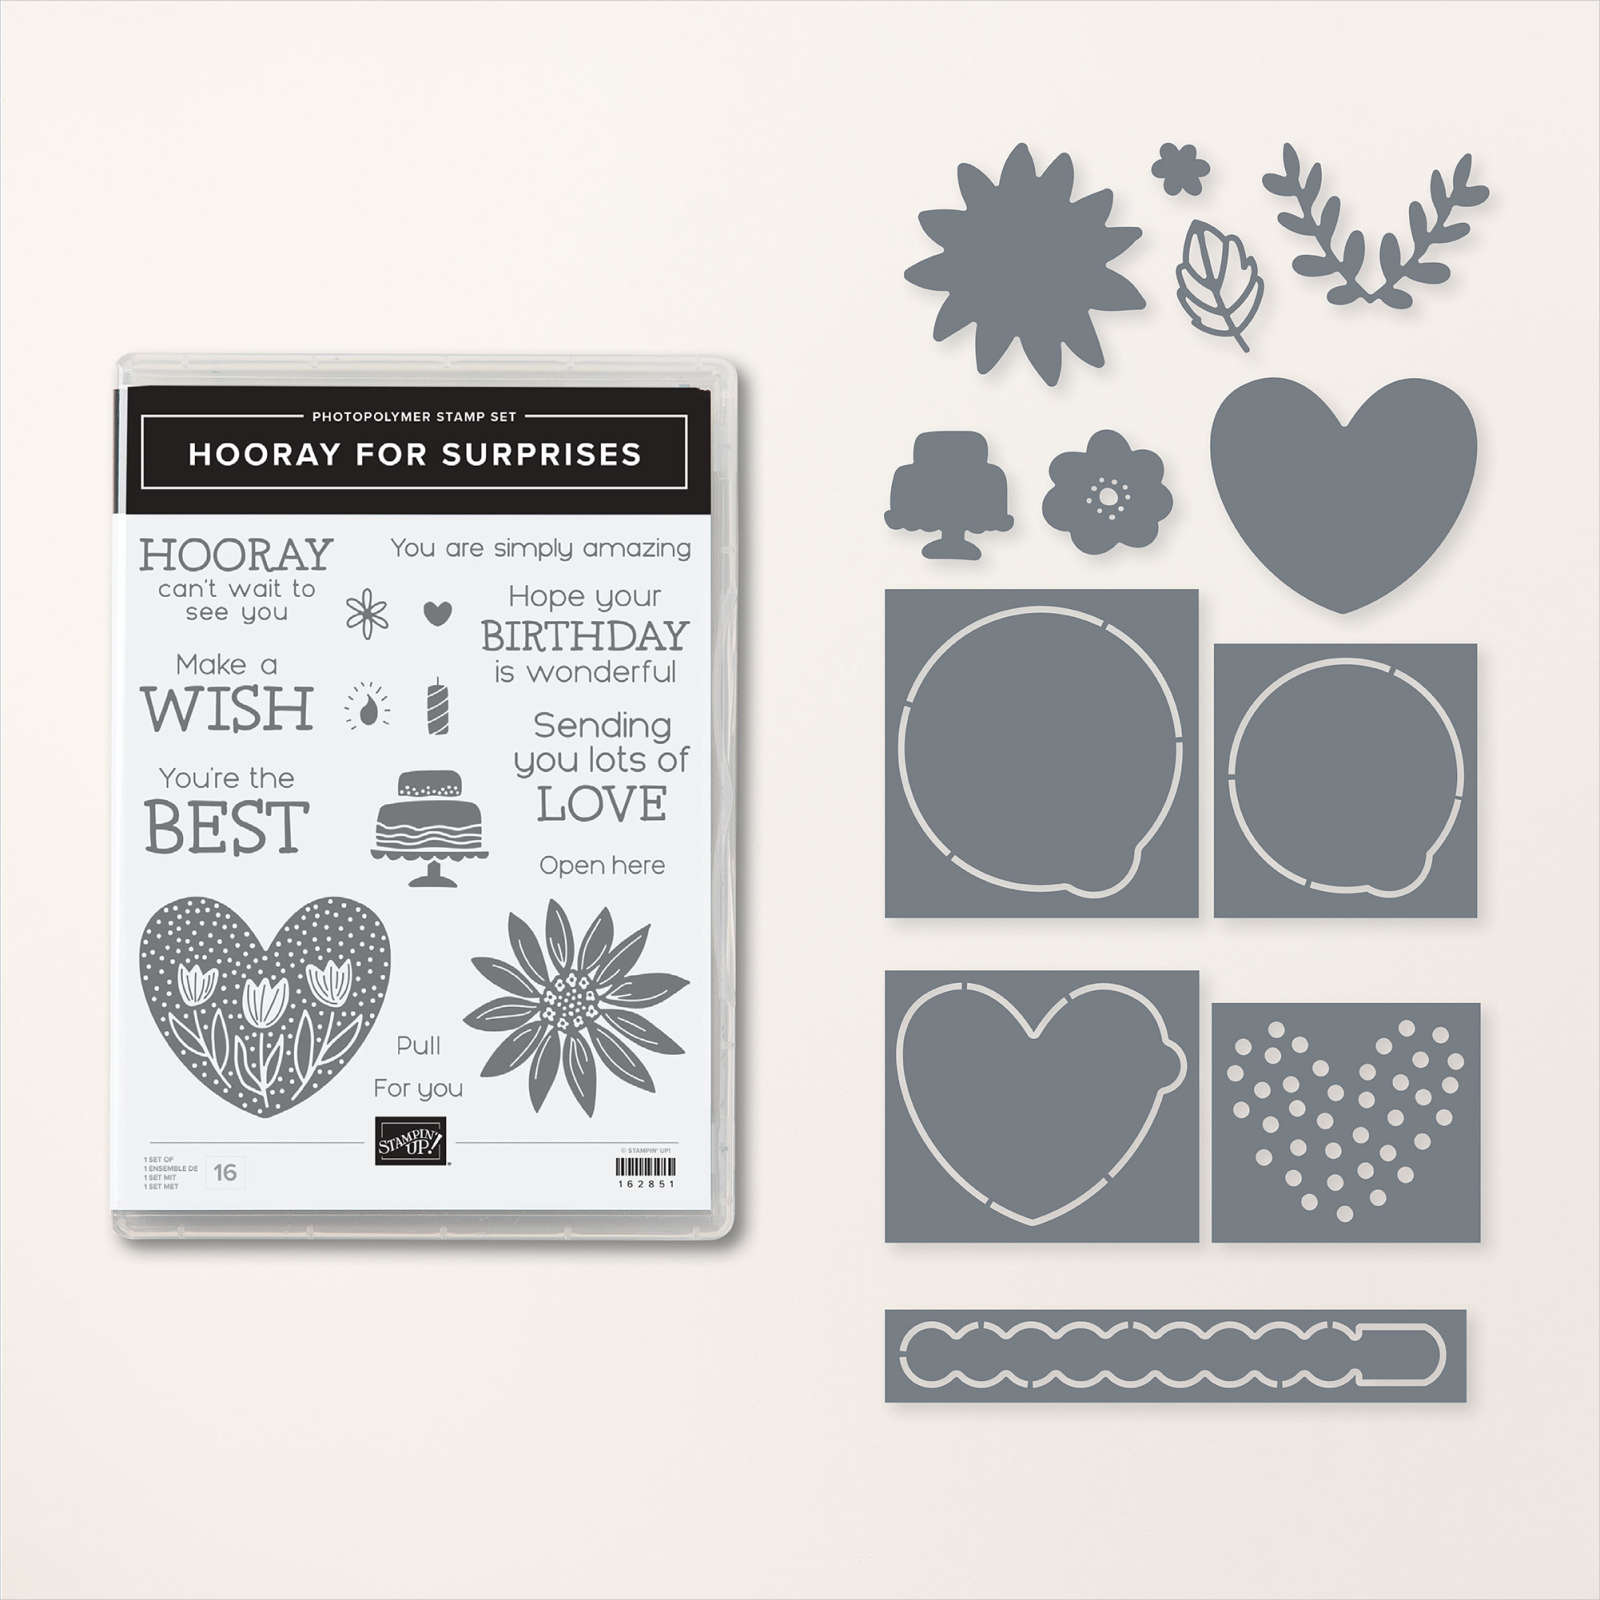
One of my favorite items in Stampin’ Up!®’s 2024 spring mini catalog is the “Hooray for Surprises” bundle. And while the photopolymer stamp set is based around fun, generic, and simple-to-stamp images, it’s actually the set of dies that captured my imagination the most! Super-original in design, I think several of the dies can be used in a variety of ways, and will easily work with other stamp sets, as well. And I especially hope this unique concept may show up in future dies sets going forward!
What makes these dies so unique?
If you look at these die images really closely you’ll see that several of them actually have perforated edges. So when run through the die-cutting machine, the shape will not be cut out completely. And when combined with one of the instructional stamp images (such as “Pull”, or “Open here”), you can inform the recipient to do just that. And if you’ve structured your card similar to my example, pulling that tab will reveal a fun surprise inside!
Some tips for assembling a card with the Hooray for Surprises dies
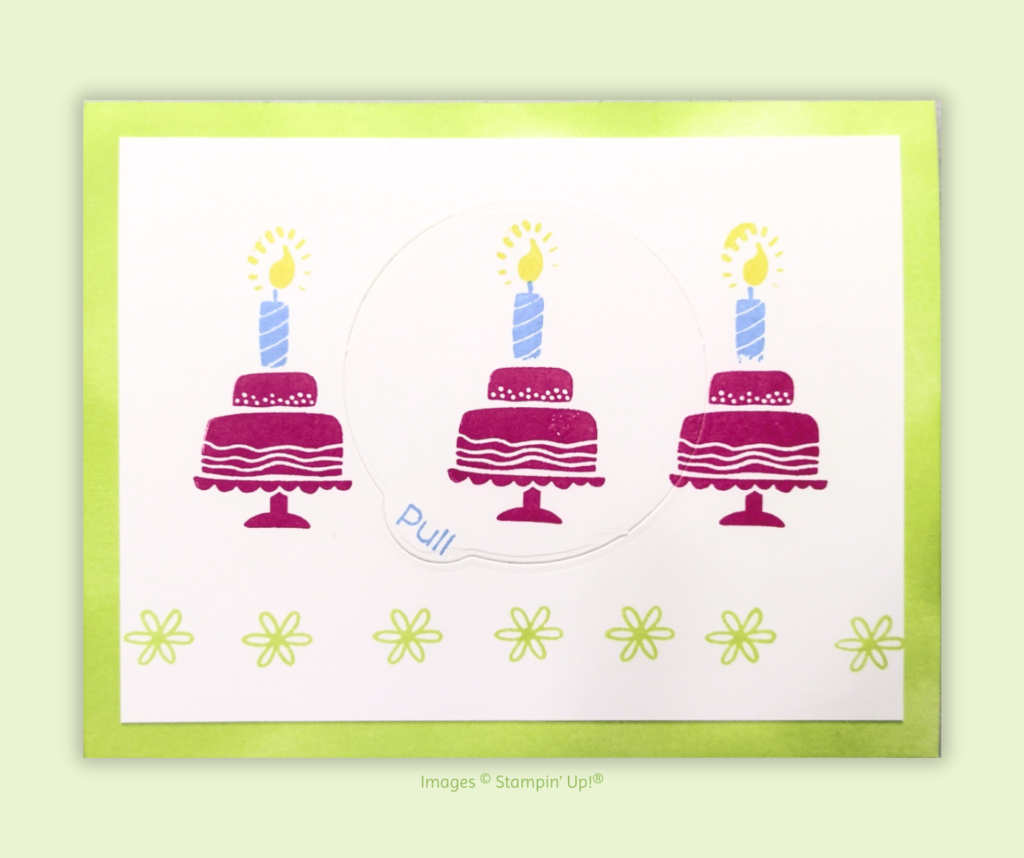
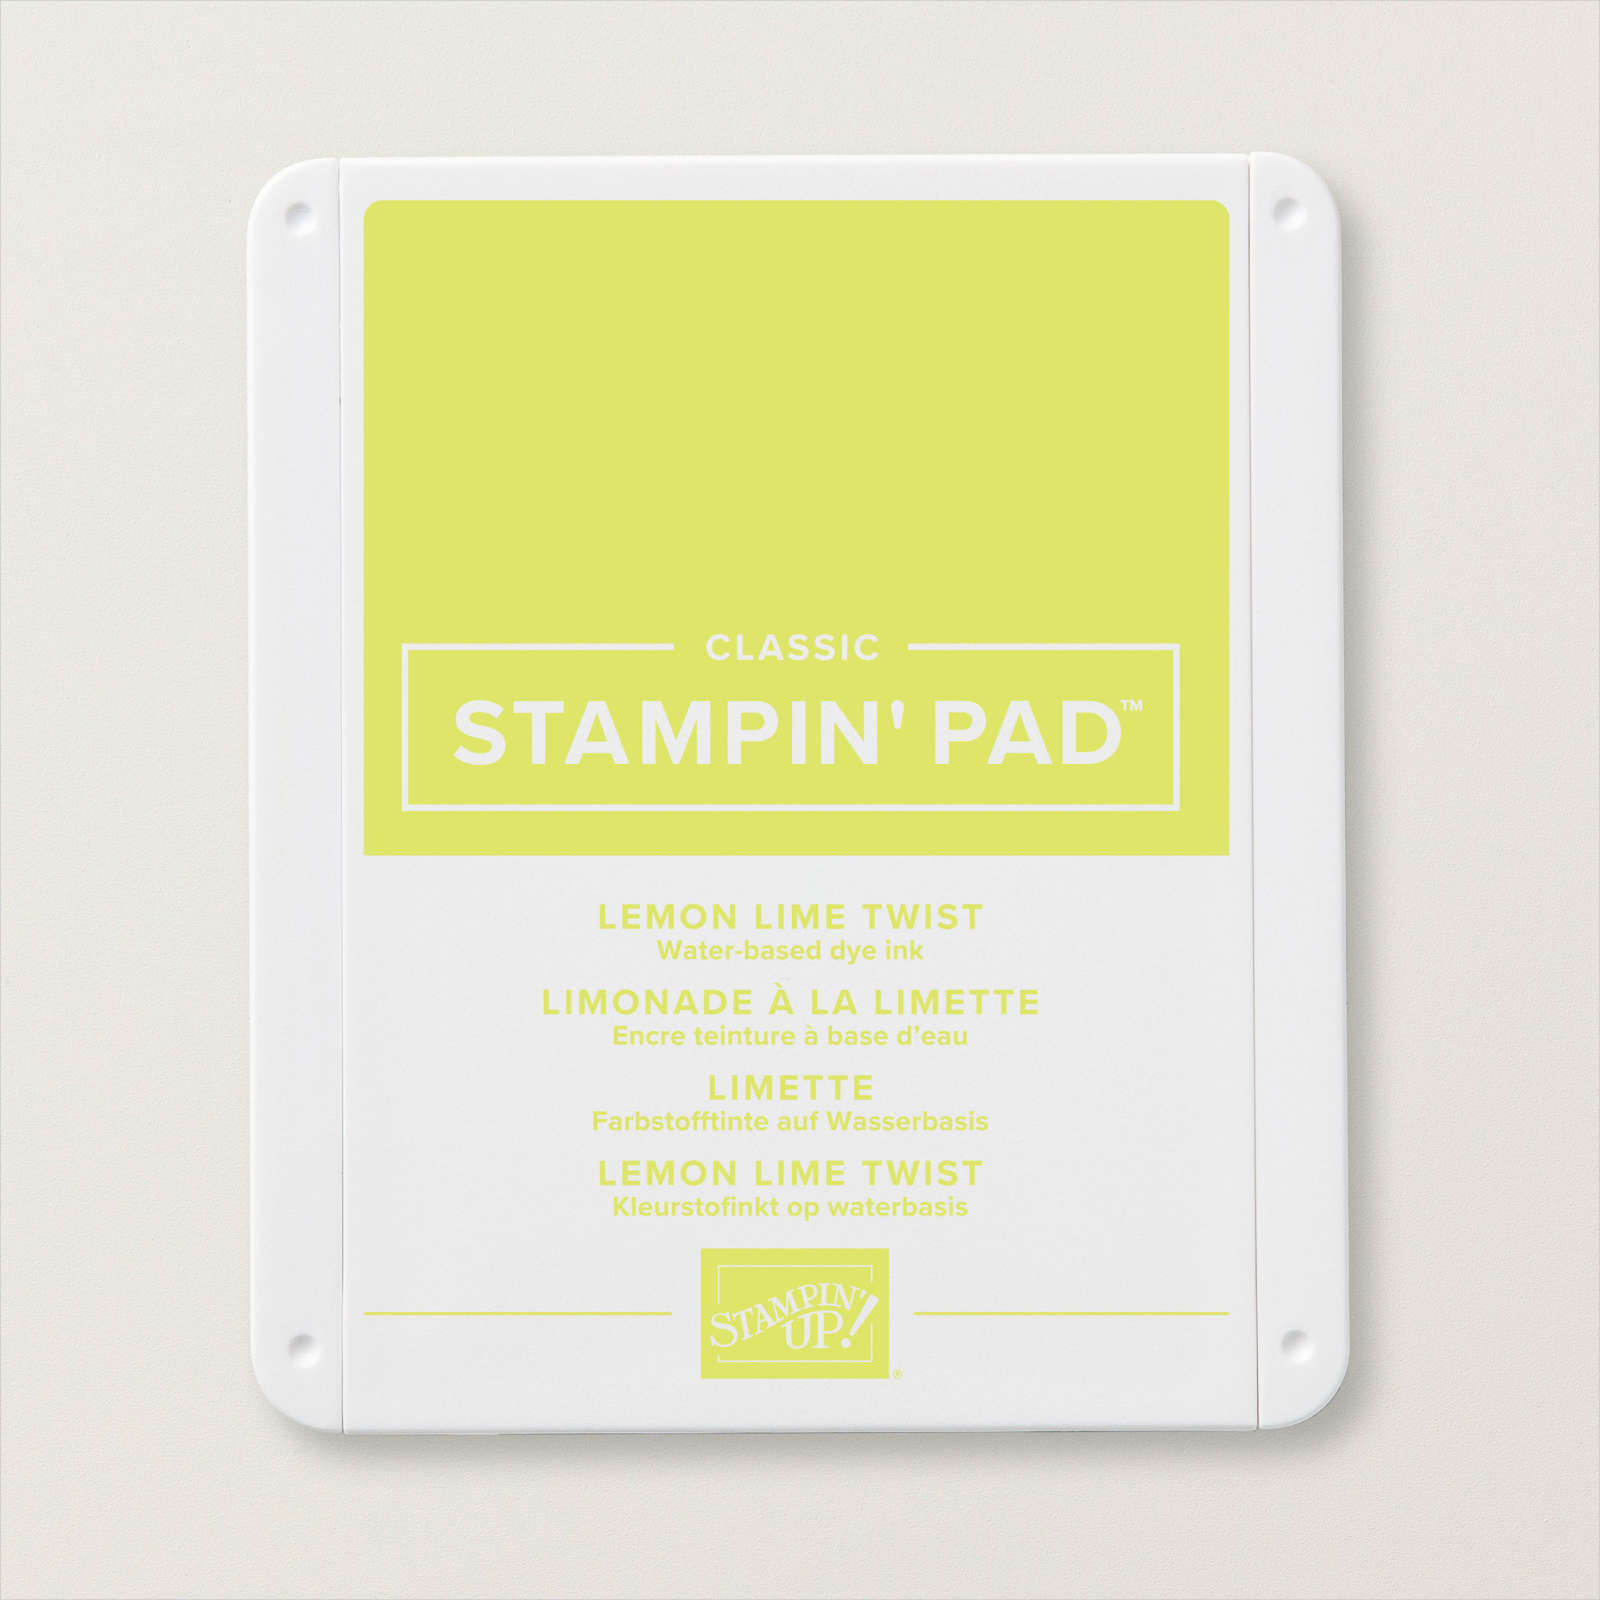
This was the first card I made using these dies, and I found that its assembly was a little trickier than I’d expected at first. But a little brain-scratching helped me figure it out. (I’ve always admitted that working with spatial things has NEVER been my forte, lol, and this was a perfect example.) The card base itself is your plain-ol’, everyday thick Basic White CS, scored and folded as usual. Then I brushed Lemon Lime Twist ink around the outer edges.
If I’d thought quickly enough, I could have then decided where to stamp the sentiment (onto the center area of the white card base) and just gone with that. But instead, I’d already stamped the decorated layer (with Melon Mambo, Azure Afternoon, Lemon Lime Twist, and Daffodil Delight inks) – AND had already die-cut the shape – before I’d considered the assembly logistics.
So ultimately, I ended up stamping the sentiment, along with a little more brushed Lemon Lime Twist background color, onto a scrap of Basic White cardstock and lining that up BEHIND the already- stamped & die-cut upper layer, in front of a very bright lightbulb which allowed me to see through the top decorated layer down to the words of the sentiment. Then once aligned to my satisfaction, I taped the 2 pieces of white CS together from behind… and then glued that whole element to my cardbase.
In this case, had I actually given this card to someone, they would have been able to pull off the die-cut section to reveal the sentiment behind. But since I knew I wanted pictures of this card I did the pull-tab reveal myself.
So my next challenge...
… was to figure out how to replace the pull-tab element for display purposes. Hmmm… More brain scratching…
But it didn’t take too long to remember that our “Green Glue” (aka “Multipurpose Liquid Glue”) can do several tricks. And one of its lesser-known tricks is to become a lightweight temporary adhesive if left to dry before attaching two paper elements together. So I used my finger to smear a few thin areas of glue onto the back side of the die-cut circle and once thoroughly dry, I replaced that piece into its original position. And I’ve successfully pulled it off and replaced it several times since then, so I’m pretty sure that will become my solution going forward with this type of card!
Need something other than just these items? Remember that the purchase of this bundle together with another small item will qualify you for a free Sale-a-Bration item through Feb. 29! (Free exclusive item for everyone with a $50 product order.)
Shop online. General Host Code is HJ47QW6U
The main Annual Catalog & Idea Book. Click to view online.
Spring Mini Catalog & Idea Book. Latest releases. Click to view online!