Lovely Lattice Stamp Set meets Stampin’ Blends

Lovely Lattice Stamp Set meets Stampin’ Blends

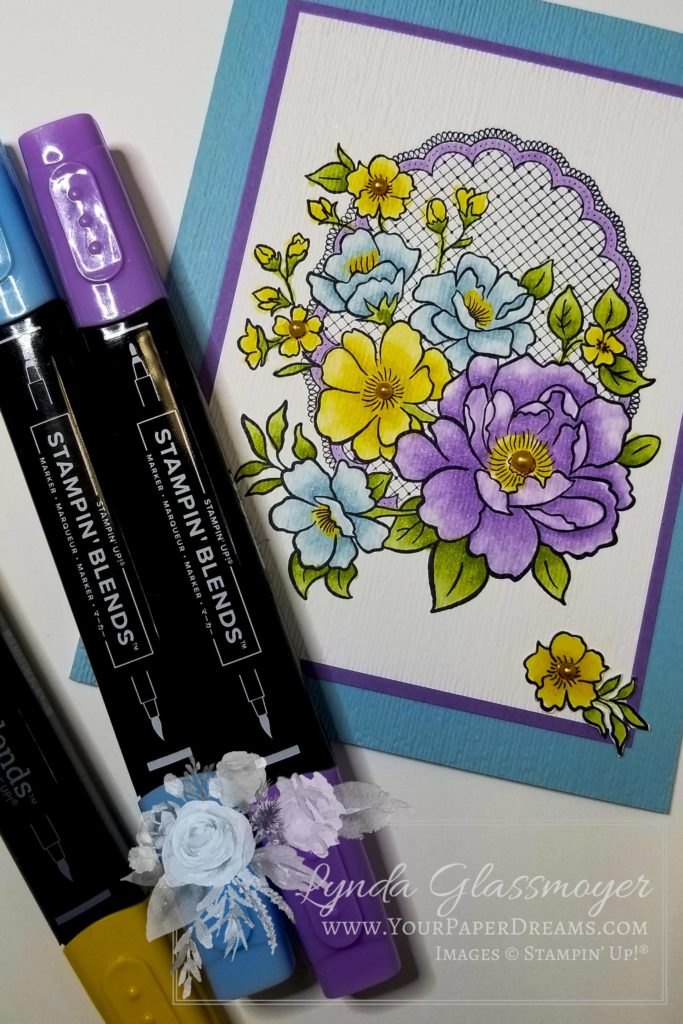
One of my favorite “Freebie” choices from the 2019 Sale-a-Bration (going on now through March 31) is the stamp set “Lovely Lattice”. And when it’s brought to life through the magic of Stampin’ Blends, well… now there’s a match totally made in heaven!
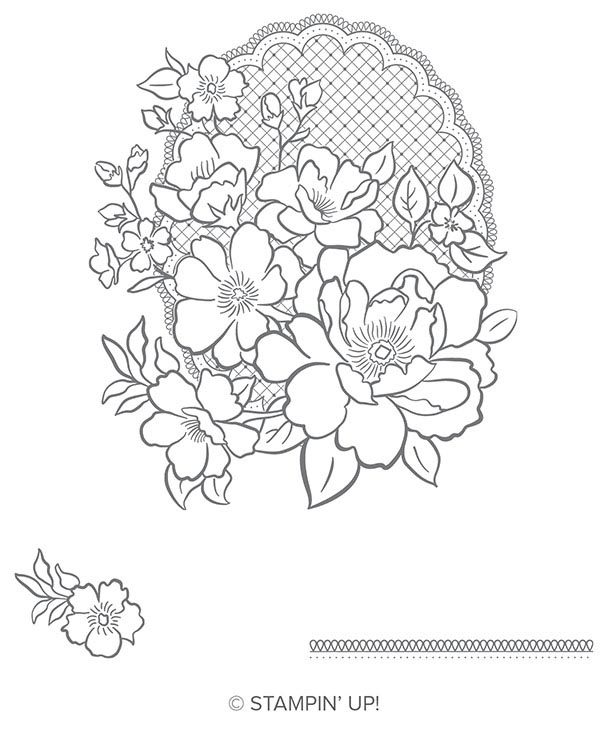
Lovely Lattice – Choose this stamp set for FREE with a $50 product order during Sale-a-Bration 2019. (Thru March 31, while supplies last.)

I was almost sad to see this card completed. Coloring in an outline image isn’t all that far off from the days of crayons and coloring book pages – elements of a relaxing past-time I have never really outgrown. So when my eye warned “That’s enough, Lynda; it’s done”, my heart wasn’t quite ready to cooperate. Nevertheless, I reluctantly put down my grown-up crayons and tended to final assembly.

“You can never have too many flower sets (in your stamp collection).”

– Lynda Glassmoyer

Those who know me, know I’m a sucker for flowers. And it certainly shows in my stamp collection! But why not? Flower images are appropriate for (almost) any card-giving occasion, and in this case, I didn’t even have a concrete idea yet for where this card was headed. I had no one specific in mind to receive it, and figured I’d just leave the outside free of any particular sentiment that could limit its use later on.

Getting the look

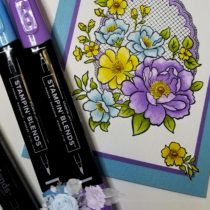
I began this card by stamping the largest image in the stamp set with Memento Tuxedo Black ink – onto Whisper White cardstock. And then used Stampin’ Blends in both light and dark shades of the following colors to bring it to life:

And a little touch of Pumpkin Pie in some of the flower centers. Then I created the highlights with the Stampin’ Blends Color Lifter.
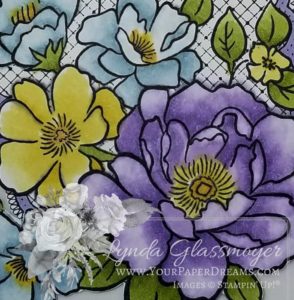
Lovely Lattice colored with Stampin’ Blends

At this point, I realized a touch of dimension seemed in order. So I took that entire stamped & colored layer and ran it through the Big Shot inside the “Subtle” embossing folder. (BTW, that folder is right up there near the very top of my faves at the moment!)
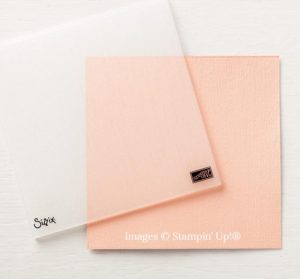
3D Dynamic Textured Impressions Embossing Folder – “Subtle”

Then I added the same embossing to the front half of the Balmy Blue card base. I mounted the stamped & embossed layer onto an un-embossed layer of Highland Heather, and then adhered those layers onto the card base. The textural difference between embossed layers and those without embossing seemed to strike just the right contrast.

The final details

But it still needed just a bit more dimension. So, grabbing one of the Pumpkin Pie Stampin’ Blends, I quickly transformed a few “plain-ol‘-white” pearls into coordinating flower centers and added those to some of the flowers.

And that little flower down in the lower right corner? It was stamped onto a scrap of Whisper White cardstock, colored in with the same Blends markers, and then fussy-cut and positioned for visual balance.

Did you know that if you were to order all the Stampin’ Blends I’ve use here, and toss in the “Subtle” embossing folder, you’d qualify to get this lovely stamp set for free? Get all the goodies here.

Featured products

Sale-a-Bration (SAB) – Perk #2 – Hosts & “I Deserve It” orders get extra Stampin’ Rewards!

Sale-a-Bration (SAB) – Perk #2 – Hosts & “I Deserve It” orders get extra Stampin’ Rewards!
2019-SAB-Botanical-Butterfly-DSP-800b

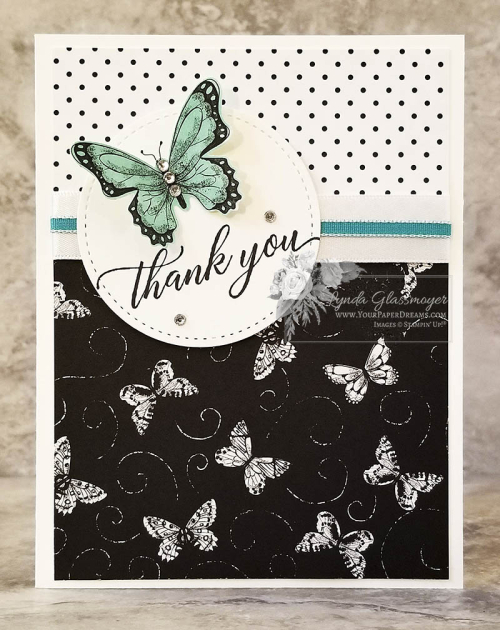
Welcome to the 2nd in my series of 3 posts detailing the perks of Stampin’ Up!’s “Sale-a-Bration 2019”! (Yes, that’s another example showcasing the Botanical Butterfly Designer Series Papers, which are available as a freebie choice with an order of $50, along with the super-popular Butterfly Duet Punch).

In my last post I discussed the Sale-a-Bration perk that everyone seems to be most familiar with: getting to choose a free product with each $50 you order. But the perk we’ll refer to in THIS post is pretty doggone sweet, too!

So, you probably know (or at least I HOPE you know) that Stampin’ Up! offers a rewards program for those who gather a few friends together and host a group stampin’ event. (Call it a party, call it a class or call it something else, Stampin’ Rewards will be part of it if there are sufficient qualifying sales.) Typically, when combined orders from such an event reach $150 in product sales, those rewards (called “Stampin’ Rewards”) kick in for the host.

At $150 in total product sales, the host can select most any product of her choice equal to 10% of the sales (which would be exactly $15, if the total product sales were $150, for instance). And as the total product sales increase, the percentage levels of Stampin’ Rewards increase too, until they ultimately reach 16% of the total product sales. In addition, when sales cross the $450 line, the host can also get any one item of her choice for half-price! (Big Shot, Color Family of ink pads, or Stamparatus, anyone?)

But Stampin’ Rewards are enhanced during Sale-a-Bration…

…making it a perfect time to host an event – or else submit what some like to call an “I Deserve It” order (of $150 or more for one’s own self). “I Deserve It” orders are a great way to maximize your purchasing dollars, and the bigger your order, the more freebie goodies you can choose!

So not only is it a smart plan to group your personal orders into batches that qualify for Stampin’ Rewards (starting at $150 in product sales), but it’s particularly clever to do so during Sale-a-Bration! That’s because in addition to your usual Stampin’ Rewards (see the Party Sales chart in any of our catalogs – sometimes near the back; sometimes near the front), you may also qualify for ADDITIONAL Stampin’ Rewards!

Which brings us to… SALE-A-BRATION PERK #2:

Sale-a-Bration Perk #2 offers an enhancement to the usual Stampin’ Rewards plan! During Sale-a-Bration, whenever your total product order reaches $250, Stampin’ Up! throws in an additional $25-worth of credit you can apply towards your freebie product as a “host” – over and above what a $250 sales volume would ordinarily qualify for! So here’s an example of how that would work in real life:

Let’s say your “party” total (regardless of source) reaches $250 in product sales. Under the usual, year-round plan, your Stampin’ Rewards would be figured at 10% of $250, which would equal $25 credit towards additional product of your choice. But during Sale-a-Bration, Stampin’ Up! will kick in that additional $25 in Stampin’ Rewards credit for any “party” of $250 or more! So that means if you reach the $250 level exactly, you’d get the usual $25 in Stampin’ Rewards credit, PLUS the additional $25, for a total credit of $50 you can apply towards any current additional product!

Oh, but wait!!! If your $250 order was actually all YOUR order, then each $50 segment would *also* qualify for one of the free SAB items in the SAB 2019 brochure!

Yes indeedy, we DO love to let you double-dip in the Stampin’ Up! perks whenever possible! 🙂

So should you find yourself staring at a particularly long wish-list at this time of year, give that clever concept a bit of thought. Qualifying for Stampin’ Rewards with your order is nothing to sneeze at!

And stay tuned for the final installment of this 3-part series – explaining how to get what might be the absolute BEST deal of ALL with Stampin’ Up! during Sale-a-Bration! We’ll call that PERK #3……. and I’ll show you some extra, totally-legit, double-dipping ideas tossed in for added fun!

When is a punch really a stamp?

Thank-you--Jan-2012---web

I had some fun with "My Digital Studio" over the weekend.  I'd decided that my January thank-you cards would use images from the upcoming free Sale-a-Bration CD:  "One Big Sale-a-Bration", which will become available when Sale-a-Bration begins one week from today.

But as I worked on my design I just couldn't seem to get the bird image to look like I wanted. Sure, I could make it any color I wanted, and change its size and angle, and mat it and/or drop shadow it – or not.  But no matter what I tried, it just seemed soooo…… so BIG…..and so flat.  Definitely not the pretty, delicate look I was after with that bird.  

So as I struggled with that for a while it occured to me that it sure would be wonderful if that bird was actually a punch, because then I'd be able to fill it with Designer Series Paper of my choice, or a photo, or whatever.  And suddenly I was struck with an inspiration!

I knew that a whole lot of amazing, talented digital designers hang out over at www.MyDigitalStudio.net, and they're always coming up with unbelievably awesome techniques and sharing them.  So I tripped on over there, did a little searching around, and sure enough came up with a forum thread that led to another, and then another…… and eventually how to transform a stamp image into a punch image!

So once past the learning curve, here's the card I came up with.  Pretty sweet technique, don't you think?!?  Can't wait to use it again with another digital stamp! 

Sale-a-Bration 2011 – final 2 weeks

P3130014 Just two more weeks remaining of Sale-a-Bration 2011!  I am always astonished how quickly 2+ months can fly by……. but yep, it's true; SAB is winding down.  Thank you to all who've shared in the ride so far, but it's not too late to still take advantage of its perks (i.e. FREE stamps & stuff) if you still want to.  You can still order directly through me (via email or phone) or 24/7 at my online store.

These are some cards I've made that showcase some of the free stamps & accessories available with each $50 order you place. 

Workshop-invite-owls-001The owl-family card was created with images from the My Digital Studio images CD that is one of the SAB freebies. (The CD actually includes ALL the images designed for this year's SAB – and shown in the brochure, so it's a super-great value – especially when you get it FREE, lol!)  Anyway, I created this owl-family design for a SAB workshop invitation.

Don't you just love the bright, vivid colors of this year's SAB accessories?!?  After this dreary, dreary winter (that still continues to this day), I have had so much fun working with these colors!

So as we wind down to our final 2 weeks, I'm curious about something.  What has been your favorite Sale-a-Bration reward item this year?  Would you please leave me a comment and let me know?  Simply click on the "comment" link right below this article and share your thoughts, ok? Thanks!

I can see clearly now


Mar-27-2009-001  I believe this is the first acetate card I've ever made.  Sure, I've seen 'em "around" for a couple of years now, but never actually attempted one myself before.  So not having had any sample on hand to follow, it took me a while to "reinvent the wheel" of the structure of this thing, but overall I'm ok with how this one turned out for my first attempt. 

BTW, this flower image is from the FABULOUS stamp set "Wagon Full of Fun", which will be in the upcoming Occasions Mini Catalog (April – June), but is available right NOW as a sneak peek!  Did I mention I ADORE this stamp set, btw?  The various elements of the flower image use paper-piecing, with the Delicate Dots DSP available for free as a Sale-a-Bration reward.  (The ribbon is a free SAB reward, too.) 

This card is actually a card within a card.  There's the white card (2-1/2" square), mounted to the front surface of the acetate card (4" square).  My greatest challenge was in figuring out what to use to adhere the inner card to the outer – without the adhesive showing too much.  I finally settled on my old standby – Stampin' Up!'s SNAIL adhesive, my good ol' favorite.  I just placed a teeny little bit in each of the 4 corners of the inner card.

But then not only did it still show (a little), but I was also nervous about it not holding real well – or at least allowing the inner card to shift.  (And if you know me at all, you know that would just not do!)  So I decided to put little jewels of some kind in 3 corners and a ribbon in the other.  Problem is, I didn't have any appropriate "little jewels". 

So I grabbed some of our mini brads, dipped 'em into white embossing powder & heated with my heat tool, then repeated several more times until they were white.  Then dipped several more times into Dazzling Diamonds glitter, heating in between until I was happy with the degree of white and sparkle. And then those brads became not only my "jewels", but also my "can't move this now!" corner anchors!

So whatdya think?!?  Leave me a comment and let me know!

And don't you want that wonderful stamp set "Wagon Full of Fun" yourself now?  Order it right online and get it in plenty of time for your Easter stamping!