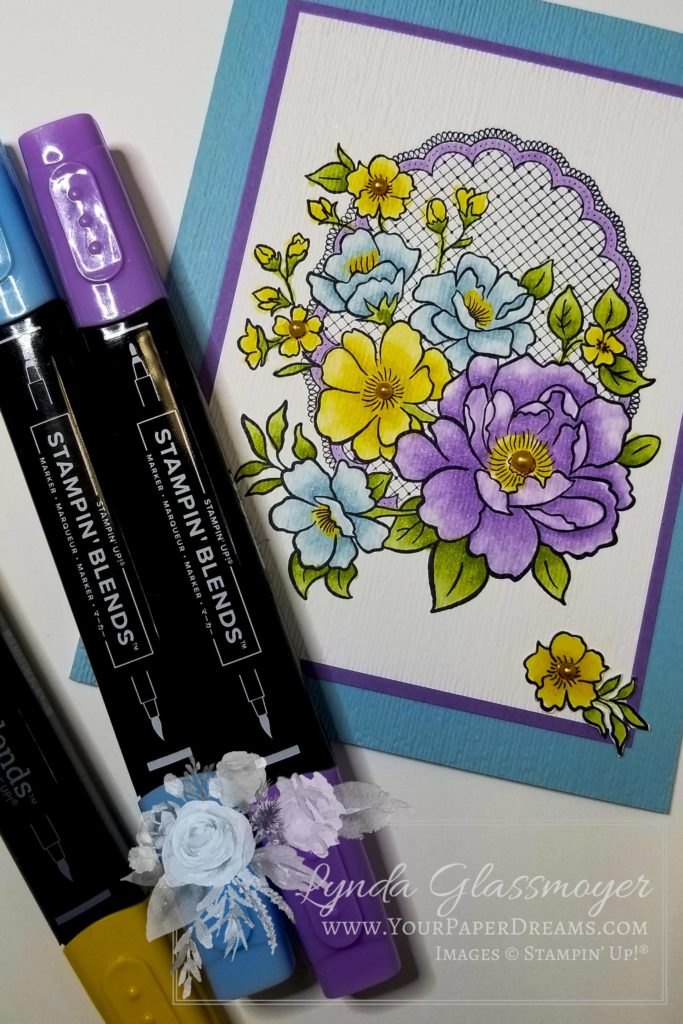
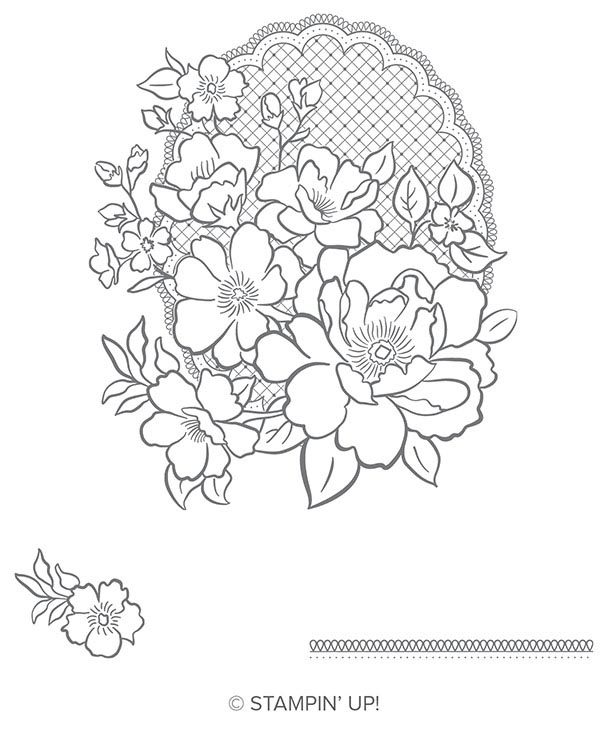
One of my favorite “Freebie” choices from the 2019 Sale-a-Bration (going on now through March 31) is the stamp set “Lovely Lattice”. And when it’s brought to life through the magic of Stampin’ Blends, well… now there’s a match totally made in heaven!
I was almost sad to see this card completed. Coloring in an outline image isn’t all that far off from the days of crayons and coloring book pages – elements of a relaxing past-time I have never really outgrown. So when my eye warned “That’s enough, Lynda; it’s done”, my heart wasn’t quite ready to cooperate. Nevertheless, I reluctantly put down my grown-up crayons and tended to final assembly.
“You can never have too many flower sets (in your stamp collection).”
– Lynda Glassmoyer
Those who know me, know I’m a sucker for flowers. And it certainly shows in my stamp collection! But why not? Flower images are appropriate for (almost) any card-giving occasion, and in this case, I didn’t even have a concrete idea yet for where this card was headed. I had no one specific in mind to receive
Getting the look
I began this card by stamping the largest image in the stamp set with Memento Tuxedo Black ink – onto Whisper White cardstock. And then used Stampin’ Blends in both light and dark shades of the following colors to bring it to life:
And a little touch of Pumpkin Pie in some of the flower centers. Then I created the highlights with the Stampin’ Blends Color Lifter.
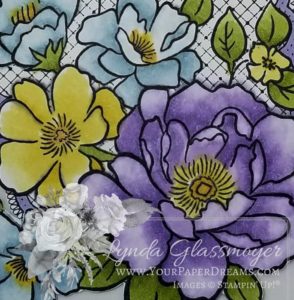
At this point, I realized a touch of dimension seemed in order. So I took that entire stamped & colored layer and ran it through the Big Shot inside the “Subtle” embossing folder. (BTW, that folder is right up there near the very top of my faves at the moment!)
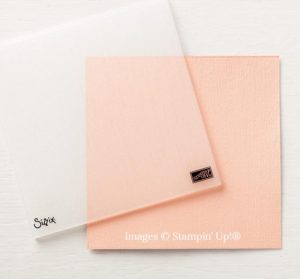
Then I added the same embossing to the front half of the Balmy Blue card base. I mounted the stamped & embossed layer onto an un-embossed layer of Highland
The final details
But it still needed just a bit more dimension. So,
And that little flower down in the lower right corner? It was stamped onto a scrap of Whisper White cardstock, colored in with the same Blends markers, and then fussy-cut and positioned for visual balance.
Did you know that if you were to order all the Stampin’ Blends
Featured products
- Lovely Lattice Cling Stamp Set [149730]
- Whisper White 8-1/2″ X 11″ Card Stock [100730]
- Balmy Blue 8-1/2″ X 11″ Cardstock [146982]
- Highland Heather 8-1/2″ X 11″ Cardstock [146986]
- Tuxedo Black Memento Ink Pad [132708]
- Highland Heather Stampin’ Blends Markers Combo Pack [147276]
- Balmy Blue Stampin’ Blends Combo Pack [148544]
- Daffodil Delight Stampin’ Blends Markers Combo Pack [144603]
- Granny Apple Green Stampin’ Blends Markers Combo Pack [147274]
- Pumpkin Pie Stampin’ Blends Markers Combo Pack [144599]
- Stampin’ Blends Color Lifter [144608]
- Pearl Basic Jewels [144219]
- Subtle Dynamic Textured Impressions Embossing Folder [143706]

