I've been having a lot of fun recently with various forms of paper inlays. That is, embedding one paper image (usually cut with a die) into another piece of paper or cardstock so that the two (or more) elements work together as a unit. There are a number of forms of this technique, but today I'd like to share where multiple colors can be used within a single die-cut image to offer up variations of color.
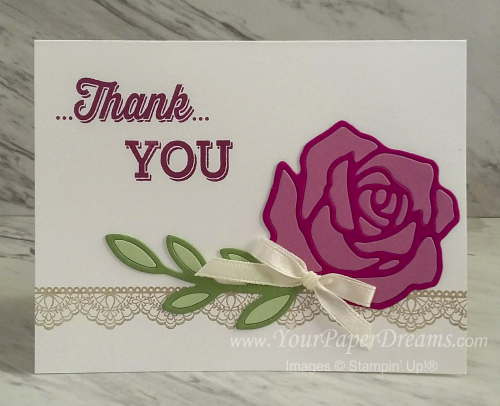
The card just above was my first attempt at this, and yes, if you're thinking these dies were recently retired, you would be correct. But these images are a perfect size to practice inlay if you're new to this technique because they're mostly large enough to handle reasonably easily. And I do recommend that if this is your first attempt, try to find an image with pieces large enough to handle. Don't make this harder on yourself than it needs to be, 'cuz it's supposed to be fun!
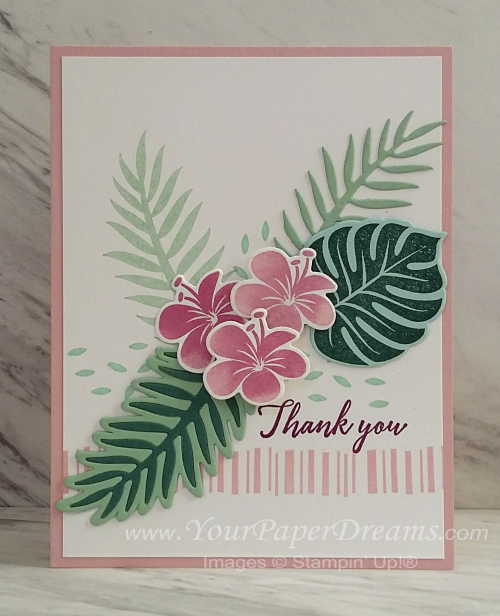
On this next card, I used this inlay technique on the lower left leaf to get the two shades of green…
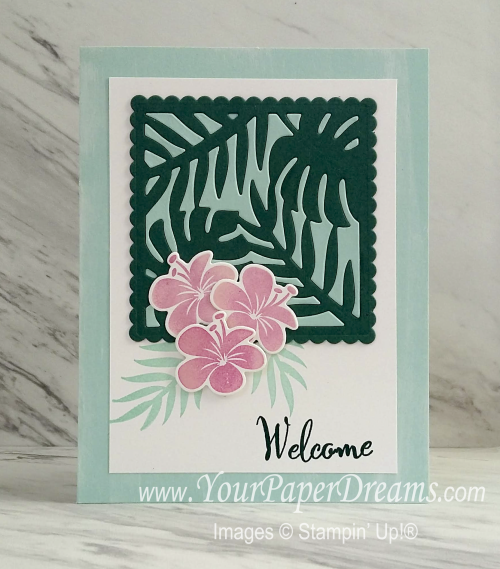
And on this next example, I'll walk though the steps and tips for doing the two-toned inlay on the square element at the top…
The colors of cardstock I have used on this square section are Pool Party and Tranquil Tide, and the dies are from the "Tropical Chic" bundle. I started by cutting out the same die shape from a scrap of each of those colors, and basically followed the same procedure with each one.
First, I set up my usual die-cutting sandwich stack and ran the stack through the Big Shot. But then when it came out of the machine, I didn't rip into the stack in my normal way; instead, I removed the entire stack from the machine and flipped the whole thing upside-down. Now I carefully removed layer by layer until I revealed the underside of the newly die-cut cardstock.
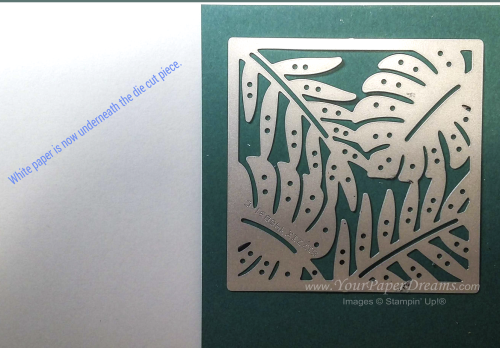
Next, I laid a sheet of contrasting paper (white, in this case) over what remained of the stack and held it in place tightly while I flipped the remainder of the stack back over, and laid it onto my table. So now I could carefully remove the cutting pad (which was once again on top), and ended up with this:
(Note that going forward I'll be illustrating the process with the contrasting color of cardstock. But I did exactly the same process to each of the two colors I worked with, which ultimately gave me two completed squares – to make two cards.)
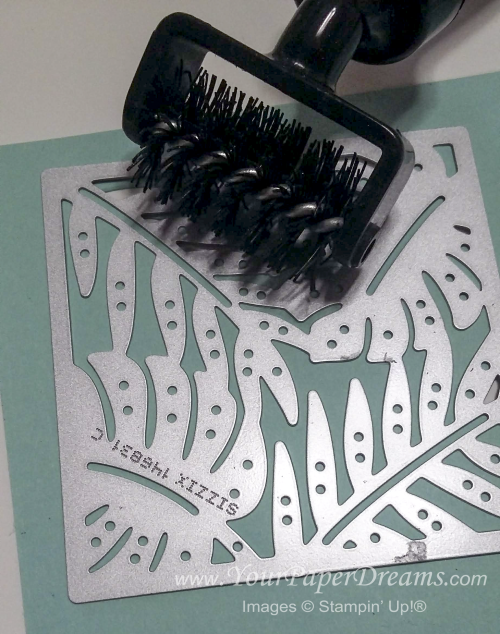
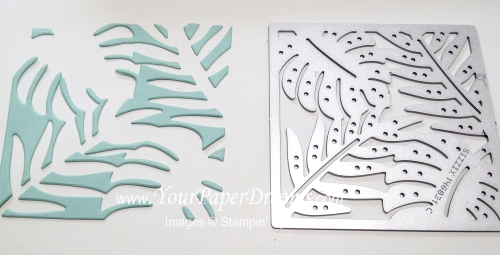
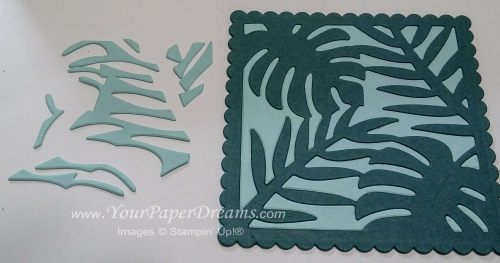
Next, using my die brush along with a wooden skewer VERY carefully, I poked out the cut pieces and let them fall into place onto the white paper. Yeah, I did have to make a few adjustments because this step never works exactly perfectly, but the point of this was to try to keep all the little pieces in relative order so I could work with them easily later. These will eventually become pieces in a miniature jig-saw puzzle!
Each time I have made one of these embedded examples I have found it helpful to adhere a "base" layer of cardstock underneath the main layer. This ensures the die cut images with all the holes in it doesn't stretch out of shape, and it also prevents drawing attention to any imperfections where one piece might not match up perfectly with another. For this latter reason, I usually make the base layer from the same color of cardstock as the pieces which will eventually be inlaid.
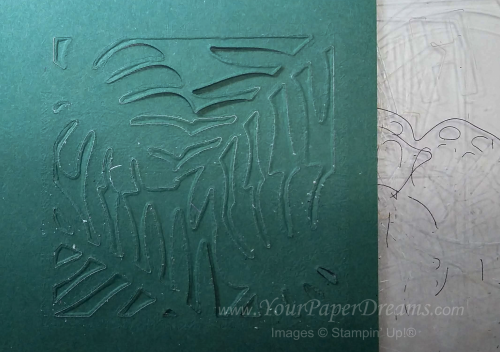
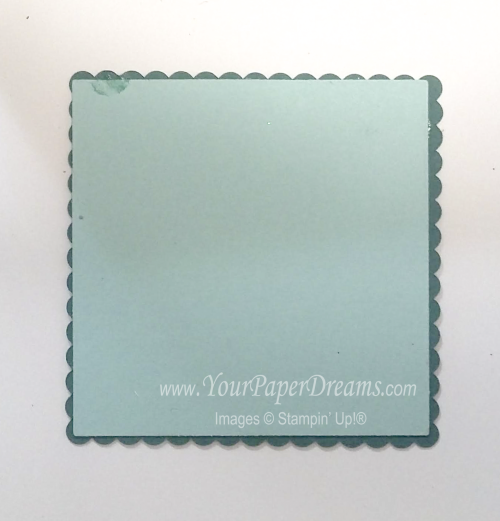
For the 2 examples shown at the top of this article, I die-cut just the outer shape of the image when a die was available, and traced and cut out a base when there was no die of that shape. (That rose does not have a solid shape, so it required tracing and cutting by hand.) Then I carefully glued the detailed shape onto its base. For my third card, I used a couple of square dies to trim up the final image, as well as to create a base layer for underneath. Here's the bottom view of the base layer…. just a little smaller than the finished piece, as you can see:
Now with all the preliminary steps complete, it's time for the fun part….. to start adhering and embedding all the little pieces into their proper spaces. Begin with the piece right-side-up, and insert a teeny-weeny bit of glue onto the base layer in a few open spaces. (Tip: I like to use a half-and-half mixture of Fine Tip Glue and Multipurpose Liquid Glue, dispensed from a Fine-Tip Glue Pen. I shake this up before using it, but then tap the bottom of the bottle on the table to reduce numbers of potential bubbles. This mixture maintains a little more "body" as it's dispensed, and doesn't take as long to dry as pure Fine Tip Glue does because it's not as liquid.)
Don't put glue in too many places at once; you don't want it drying up on you as you're still inserting pieces into place. A little experience will tell you how far ahead you can work with the glue. And don't forget that when I refer to a "teeny-weeny bit of glue", that's EXACTLY what I mean. ONLY enough glue to anchor the punched-out piece, and NO MORE!
This next picture shows pieces that have already been adhered in place along the left and lower areas. Can you see why it's important to keep the unplaced pieces in relative order for purposes of preserving one's sanity?
Most of the time I find I can pick up these pieces with my fingers (and fingernails), but ultimately there are will be a few pieces that are just too small for that. So I have found that if I quickly lick the tip of my pinky finger, touch it lightly to my other hand, and then touch it to the itsy-bitsy little piece, that little challenge piece will usually adhere to my pinky just long enough to set it right down in its appropriate place. Whew!
And don't forget that if you need reading glasses for close-up work, WEAR THEM! And have adequate working light, and go stare across the street when you're done. It doesn't take my eyes very long to remind me that this kind of minute task isn't very friendly to the eyes. Ah, but the finished result is certainly worth it!

