If you're like me, you probably love the added dimension and interest that Stampin' Up!®'s dies add to your papercrafting. But you may also wish to skip some of the potential headaches that can arise when trying to keep all those frustrating little bits of metal under control! Today I'll be sharing some of my tips for handling and storing dies with minimal frustration.
Tip #1: Always put each die away immediately after using it.
LOL!
OK, who are we kidding here!?! WHAT serious papercrafter actually takes the time in the middle of his/her creative "zone" to put away every single tool one-by-one?!? Pretty inefficient, if you ask me…. 'cuz not only are you risking losing your creative mojo, but you just might need to use that exact same tool again only 14 seconds from now, right?!?
Ok. So let's start over, but this time we'll add in a dose of reality. Here's my approach:
I recognize that while I'm creating, things WILL be out of place. So I try to be ok with that. But that doesn't mean my workspace has to devolve into total chaos; my goal is to keep things at least moderately corraled so they don't get lost or damaged, and they can be returned to their rightful places with minimal effort and headache later. So while I'm working… 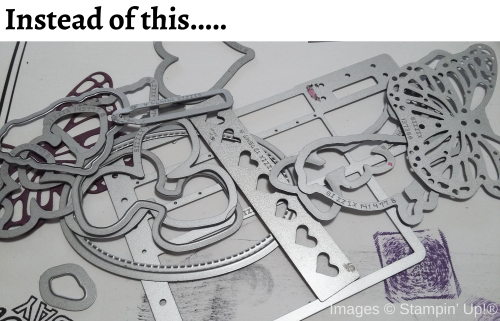
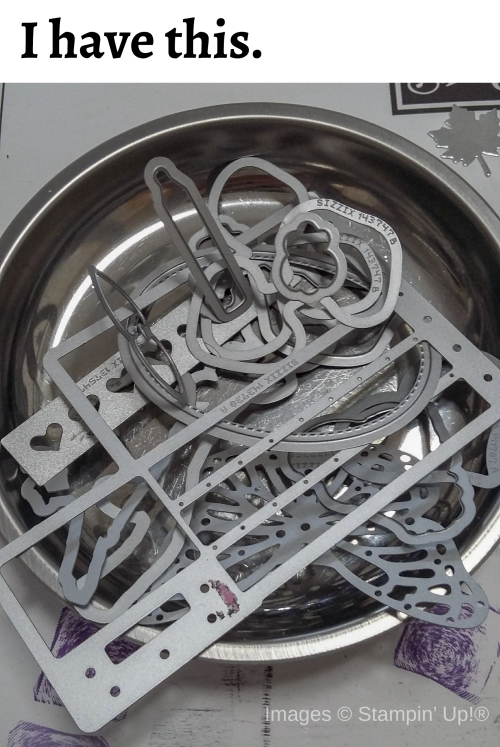
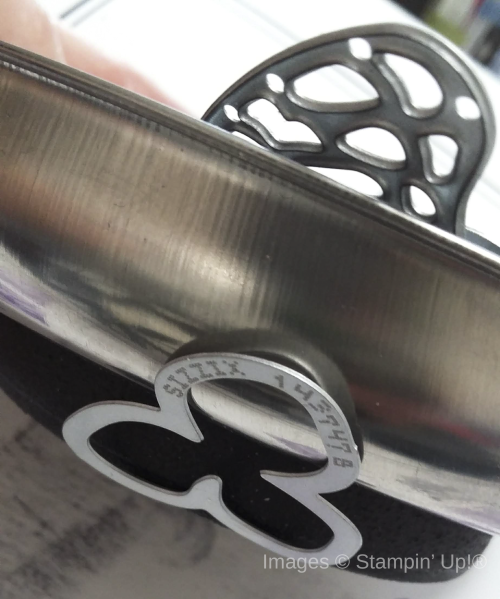
This awesome tray was given to me by a friend. But it's easily found at Harbor Freight, and it's easy on the budget. Designed for mechanics to hold onto screws and bolts and the like, it's got a heavy magnet at the base. So it can be attached to a metal tool chest or workbench – or not. I've found that without even attaching the tray to a magnetic surface, its weight alone tends to keep it upright and unlikely to tip over with normal use. And of course, the magnet at its base keeps the dies in place inside the tray regardless.
I LOVE this tray! But there *is* one lesson I've learned while working with it. Occasionally I've found that a smallish die just disappears. Totally vanishes from my work area! One moment it's there, and a second later it's not. But I've had this happen enough times now, that before I set off on an extensive exploration of my clothing, the carpet, the wastebasket, etc., I usually just need to pick up the tray and look underneath it…
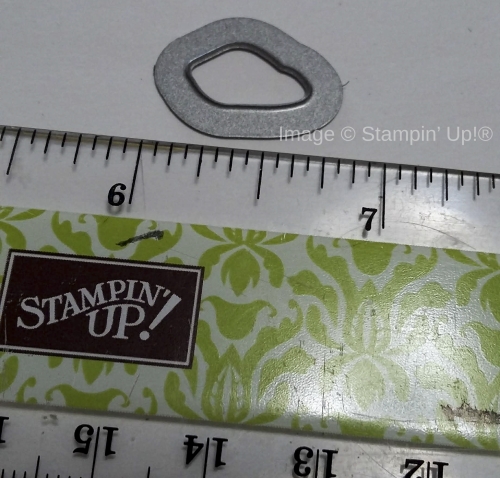
Now, has this ever happened to you? You're straightening up your workspace and come across an itty-bitty die that looks something like this.
Quick now, what die set does it belong to? (Yeah, right!) Well, here's the shortcut way to find out.
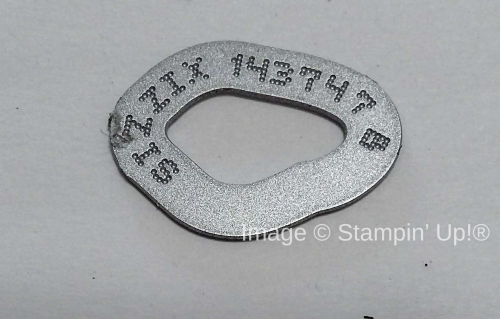
Flip it over, and …..
Read the 6-digit number engraved on it. That will be the Stampin' Up! product code! If you have absolutely no idea what set it belongs to, click here (store.YourPaperDreams.com), and type that product code into the search bar. If it's still currently available, the picture and name of its die set will come up so you can reunite it with its family!
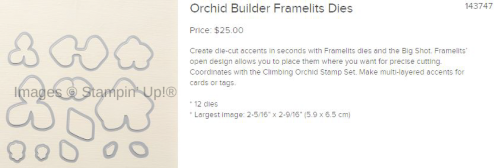
But if it's not currently available, you'll have to search through your collection of die sets, looking at the product code of each set, in order to find the rest of its tribe. Tedious, yes. But at least doable!
Which brings me to the topic of how I *store* my thin dies… and why. Check out more tips in my next post!

