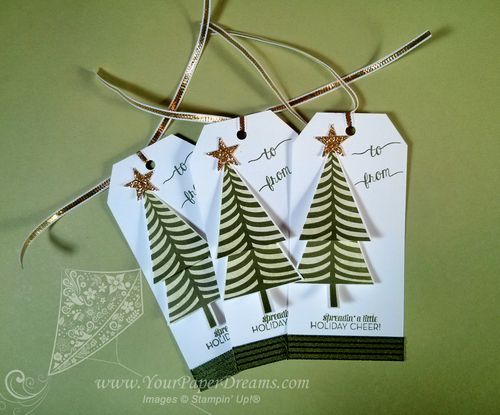
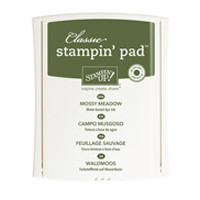
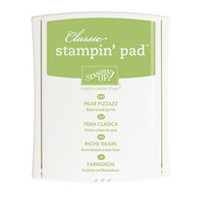
These fun 3-dimensional tags will be going out shortly as thank-you's for recent orders placed through me. The tags feature the Festival of Trees bundle (stamps + punch), along with another photopolymer stamp set called "Christmas Tagables". Colors are Pear Pizzaz and Mossy Meadow. And gold, of course; can't forget the sparkle!
The base tag measures 4-1/4 x 2", and the top is punched with the Angled Tag Topper. (You can get 10 such tag bases from a single sheet of 8-1/2" x 11" Whisper White cardstock.)
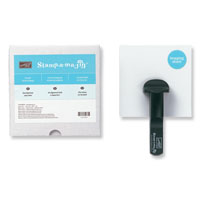
I did end up using my Stamp-a-ma-jig when stamping the 2-step parts of the tree image….. mostly because I was doing a big pile of these assembly-line-fashion, and it was just faster than eye-balling every one. I stamped the solid part of each tree with 2nd-generation Pear Pizzaz ink, and then stamped over that with Mossy Meadow.
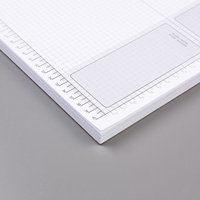
Each tag uses 2 identically-stamped tree images; both punched out with the coordinating Tree Punch. One of the images is then trimmed shorter: at 1/4" above the top of the trunk. (Have I mentioned lately how much I love my grid paper?) I just flipped the tree face-down on the grid paper and marked where the 1/4" point was (that's 1 square) on both left and right sides; then cut across with scissors. Then I gently curved the lower part of each tree forward with my bone folder.
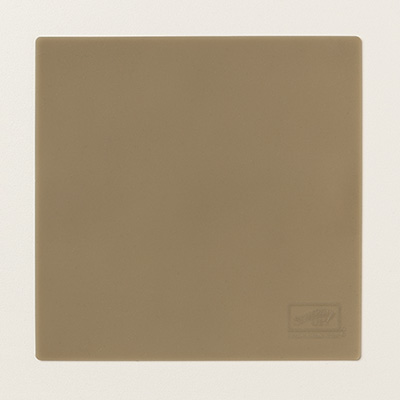
After applying the ribbon at the bottom (tip: using the Silicone Craft Map underneath allows you to apply SNAIL all the way to the edge of the tag without making any mess!), and after stamping the Holiday Cheer sentiment above that, I started building the "tree".
First, I anchored the full-tree piece as far left and low as reasonable, putting a glue dot under the tip at the top, and a Stampin' Dimensional a quarter-inch or so up from the bottom…… keeping the entire tree trunk parallel to the left edge of the tag. Then I mounted the partial-tree image over that one, with it's bottom edge 3/4" (3 squares) higher than the lower edge of the full image. (Have I mentioned lately how much I love my grid paper?) I also made sure to align the center of that piece (the tree trunk) with the lower tree image, and kept it parallel to the left side of the tag. As before, there's a glue dot behind the top tip (on the back side), and a Stampin' Dimensional about 1/4" up from the bottom.
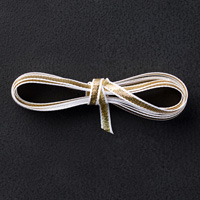
I think the rest of it is pretty easy to figure out from the picture, but another time-saver I used was to mount the "to" and "from" images on the same block (making sure they were straight, and parallel to each other). I used an 8" length of Gold 1/8" Ribbon (double-knotted at the back) to finish it off.
Like most anything you create in multiples, I recommend using an assembly-line process to power through a pile of these if you'd like to make some. Each tag has a number of steps to completion, but each step goes fairly quickly.
Products Used
