YOUR favorite moods of the “Painted Poppies” stamp set?

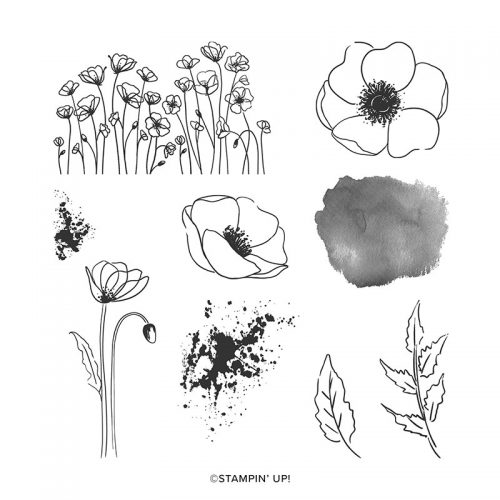
Have you ever thought about the many moods of the “Painted Poppies” stamp set? This delightful set of images, featured on the front cover of Stampin’ Up!®’s 2020 spring catalog, as well as on pages 24- 27, can confidently step up and shine for almost any occasion: birthday, anniversary, thank-you, friendship, invitation, wedding, sympathy, congratulations, and on and on! Dress it up, or leave it simple. Make it shout, or let it whisper. 

The next time you’re ready to create a card, friendship gift, scrapbook page, or even some home decor, there’s a really good chance that Painted Poppies can lend a hand.

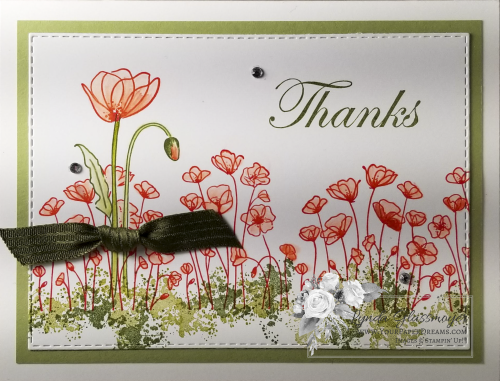
The "understated" mood of "Painted Poppies"
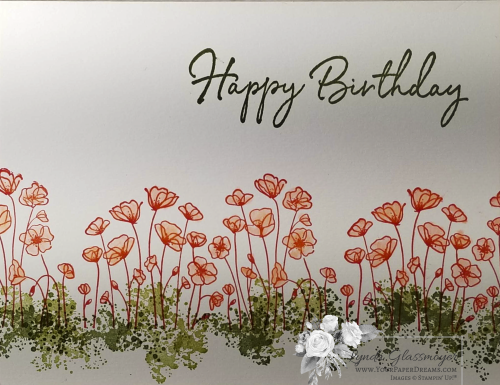
Painted Poppies #simplestamping
Just stamps, ink and paper. #simplestamping
20200114_200104 - w wm
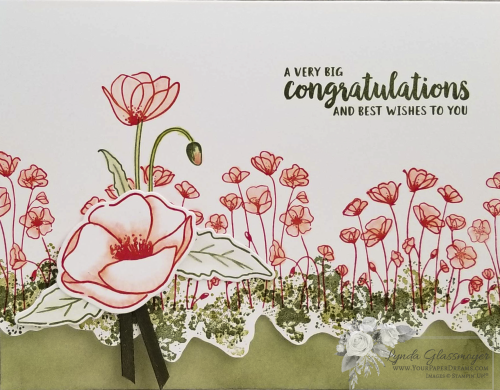
Step it up with a bit of layering, some masking, ribbon & rhinestones.
stepped up Painted Poppies
Step it up again. This time I added a die-cut poppy and leaves for interest & dimension, along with a fussy-cut bottom border that offers a glimpse of the sponging inside.

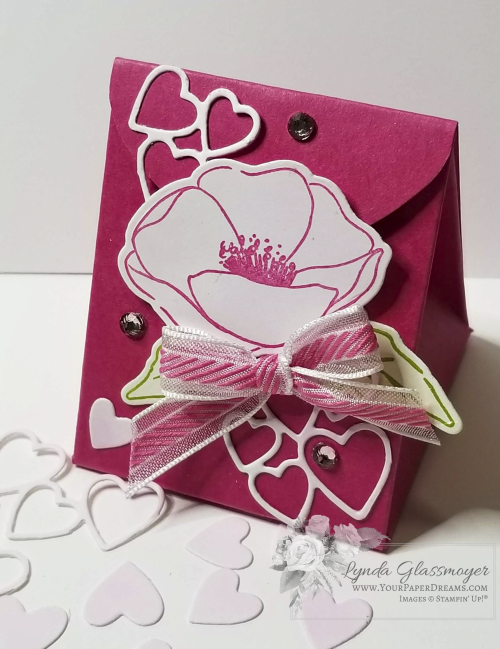
The "feeling pink" mood

20200125_205157 - w wm
A Valentine gift for a special someone
moods of the Painted Poppies stamp set
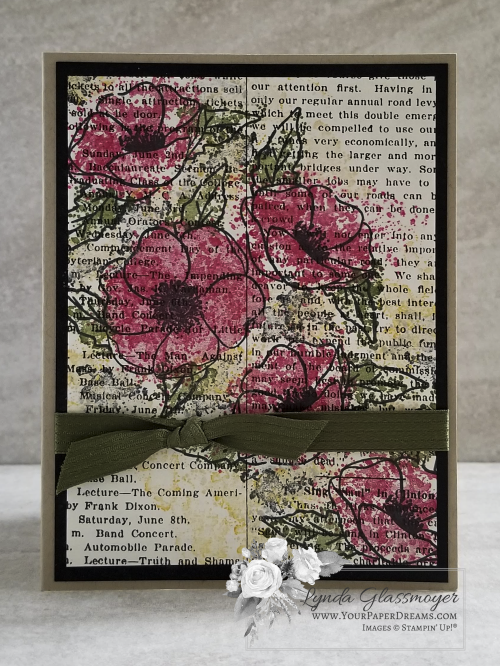
A little vintage look, anyone?
Painted Poppies cling stamp set

Free tutorials with purchase of "Painted Poppies"

Check back in a couple of days for some additional moods of the “Painted Poppies” stamp set. And in the meantime, why not grab your Painted Poppies (or even the Bundle with its coordinating dies) right here, so you’ll have everything when you’re ready to use it. 

I’ll be sending out a set of tutorials featuring some of the samples in this grouping (and the next) to everyone who purchases a Painted Poppies stamp set (or Painted Poppies bundle) through me by February 15th! And yes, if you’ve already purchased yours thru me, that order counts, too. (Tutorials will send AFTER the 15th, tho, because I’ll send them all at once to everyone who qualifies.)

Oh! And don’t forget that the Painted Poppies bundle will also qualify you to select a free item from the Sale-a-Bration brochure, too!

Happy Halloween!

20171031_133718[1]
Today I'm excited to share the artwork of a sweet stampin' friend, Jane Downs. She showed up to card class last week with a basket of The. Most. Adorable little Halloween treats…. same size as this one, but each a different color and character…. totally appropriate for the trick or treating occasion!  She offered each of us the opportunity to pick one, and although the choice was really hard (they were ALL just so stinkin' cute!), I finally selected Garfield. Jane's little boxes were filled with candy (of course), and although not made with Stampin' Up!'s retired "Curvy Box" die, they were the same shape and style of the die, just a little bit larger. (Apparently she's got some fancy crafting gadget that makes that kind of thing easy.) At any rate, we were all charmed – both by the delightful designs, as well as her thoughtfulness! Thanks for such a sweet surprise, Jane!

Seasonal Chums - Pumpkin
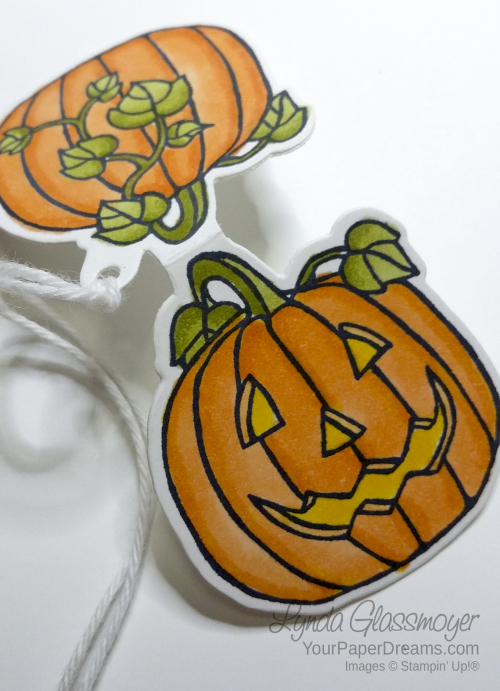
Next, I just had to stick this in here before the holiday got away and it would be too late to show it off. This was my very first attempt at using our brand-new, "available TOMORROW" Stampin' Blends alcohol markers earlier this month, and this happy pumpkin just makes me grin every time I look at him! He's part of the "Seasonal Chums" bundle, which includes the Jack-o-lantern, a snowman and an adorable little reindeer. These charming little characters have both their front and back images on each stamp, and then the corresponding dies cut the entire piece out at once, so all you have to do then is fold it in the middle for a clever little tag. (Hey, the die even punches the hole thru which you can string your twine!) So for this one, I stamped the image in Tuxedo Black Memento ink, and then used Daffodil Delight, Pumpkin Pie and Old Olive Stampin' Blends to color it in. Each color comes in both light and dark markers so they'll blend beautifully.  

Now, one of the features of alcohol markers is that they bleed through your paper, so I did have to cut a 2nd piece of white cardstock with the same die and use it as a liner so the inside of the tag is clean and white…… but that was no big deal. 

Can't wait to share some of the other fun I've been having with my new markers, and I'm sure you're gonna want your own set soon, too!


Dad’s Day

So the other day I found myself staring at my never-used, still-shrink-wrapped (although already retired) Adventure Bound Designer Series Paper Stack. Considering it was one of the very first things I'd ordered from the 2015 Occasions Catalog, and I still love its images so much, why in the world had I not even opened it?!?

Well, the answer to that is a bit complicated, but suffice it to say that when my gaze landed on it the other day, I happened to be in the "gotta make a Father's Day card" mode. And I knew this paper would be perfect. So if you promise to keep this just between you and me (and since I'm pretty sure Dad never looks at my blog, lol), I'll share my results. 

P6170241---web---copyright

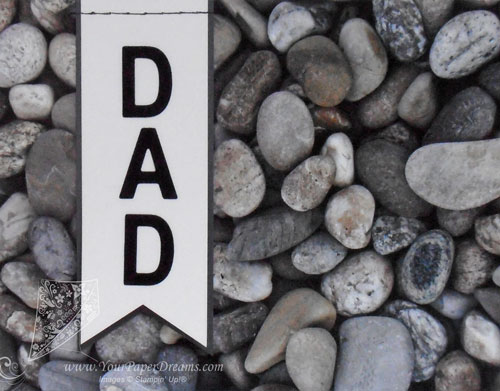
I knew I wanted something a little more creative than just a piece of pretty paper stuck on the front, so I started with one of my "go to" tips for creating "guy" cards: "Stick to neutrals", and then built from there. I already knew I was headed for a tri-fold of some kind. For this color palette: Basic Black, Basic Gray, Smokey Slate and Whisper White. I spelled out "Dad" with one of my most-reached-for die sets – "Little Letters Thinlits".

The double-layer banner is from the brand-new "Triple Banner" punch. BTW, did you know you don't HAVE to stick to only the 3 widths of paper they mention in the catalog for that punch?!? You can probably see that I didn't.

I did some faux stitching across the top of the banner using the piercing tool, Updated Essentials pack & a black marker. (I actually had the Project Life markers at my fingertips, so I used the smaller of the pair, but I'm sure the Basic Black Stampin' Write marker would have worked fine, too.) Used the marker not only on the outside, but the inside, too – so the stitching actually does look reasonably realistic.

P6170244---web---copyright P6170243---web---copyright


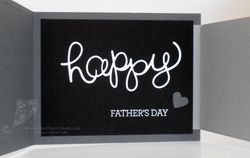
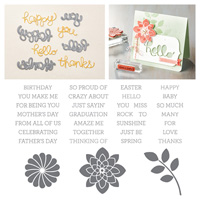
Both the big  "Happy" and "Father's Day" are from the "Crazy About You" bundle. I truly believe that the stamp set "Crazy about You" belongs in every stamper's collection, and you might as well toss in the dies and get a discount, too.  I've certainly ended up using mine more than I thought I would. Tip: Adhere the die-cut word with 2-way glue pen, but work quickly so it doesn't dry on ya.  "Father's Day" is stamped and embossed in Whisper White.

And the little punched heart for subtle embellishment? Our retired "small heart" punch. While I love the newer sweet-heart shape, there are just certain times you need a small basic heart shape. So that's ONE punch that won't be showing up at my Crafter's Garage Sale on Friday!

Cutting dimensions are:

  • Adventure Bound DSP (front): 5-1/2" x 4-1/4"
  • Adventure Bound DSP (inside): 4-1/2" x 3-1/4"
  • Basic Gray card base: 11" x 4-1/4"…. scored & folded at 5-1/2"
  • Smokey Slate right-hand panel: 5-1/2" x 3-1/2"…. scored & folded 3/4" from one end.
  • Basic Black liner: 5" x 3-3/4"
  • Scrap of Whisper White large enough for the die: approx 4-1/2" x 2-1/2"

Now remember, this is still just our private secret until Father's Day, right? Shhhhh…….

Product List

Small Heart Punch

Small Heart Punch
[117193]